


Allways a good experience , fast delivery , really well packed .
Fresh Plants. Fast Delivery. No Waiting.
Live aquarium plants, delivered across the UK
Shop our full range of freshwater aquarium plants - potted, tissue culture, epiphytes, and beginner bundles. In stock, same-day dispatch, Monday to Friday.
View Favourites
-
Best Seller

 Echinodorus bleheri - Amazon SwordEchinodorus bleheri - Amazon Sword
- Regular price
-
£7.99 - Regular price
-
- Sale price
-
£7.99
Quick view
-
Best Seller

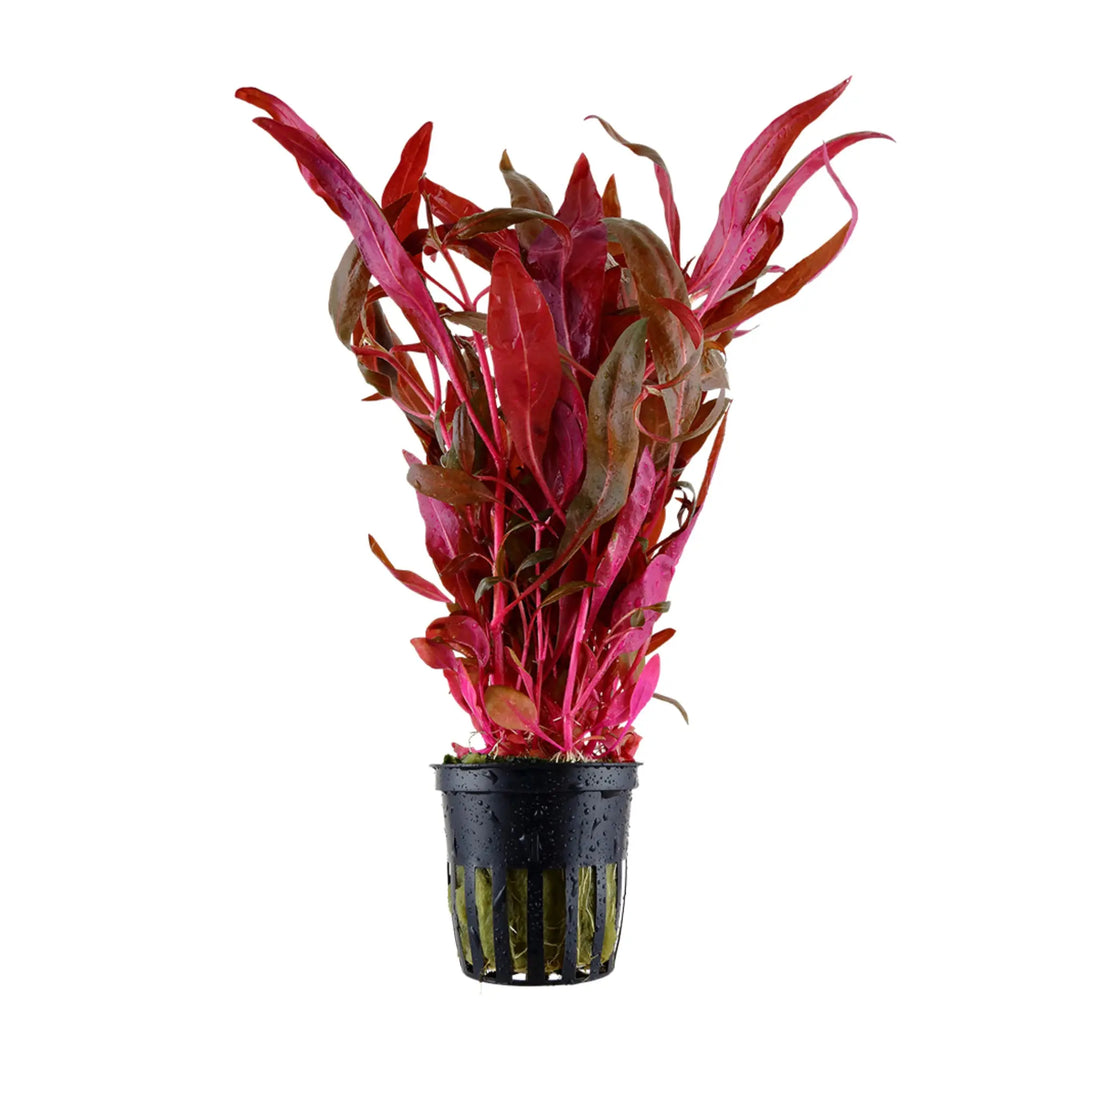
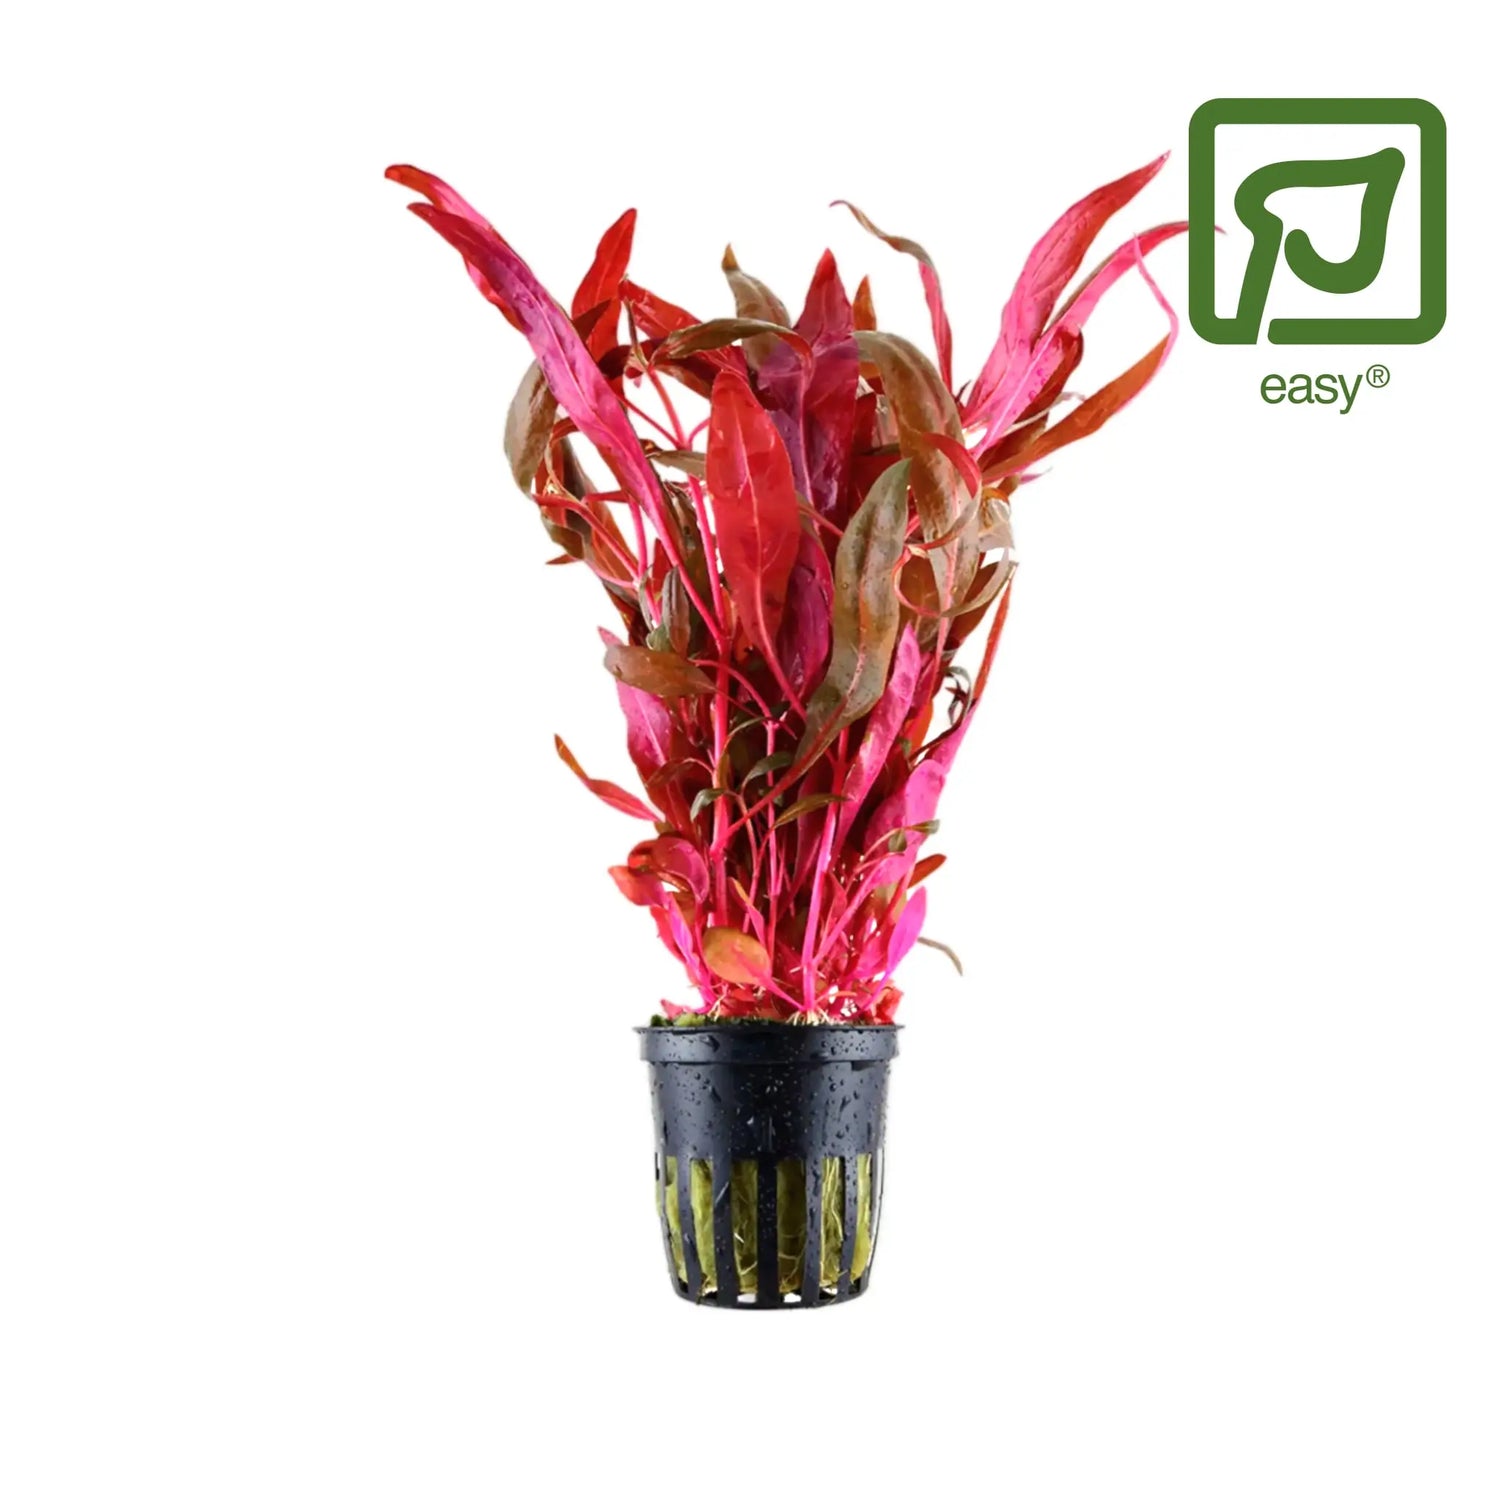
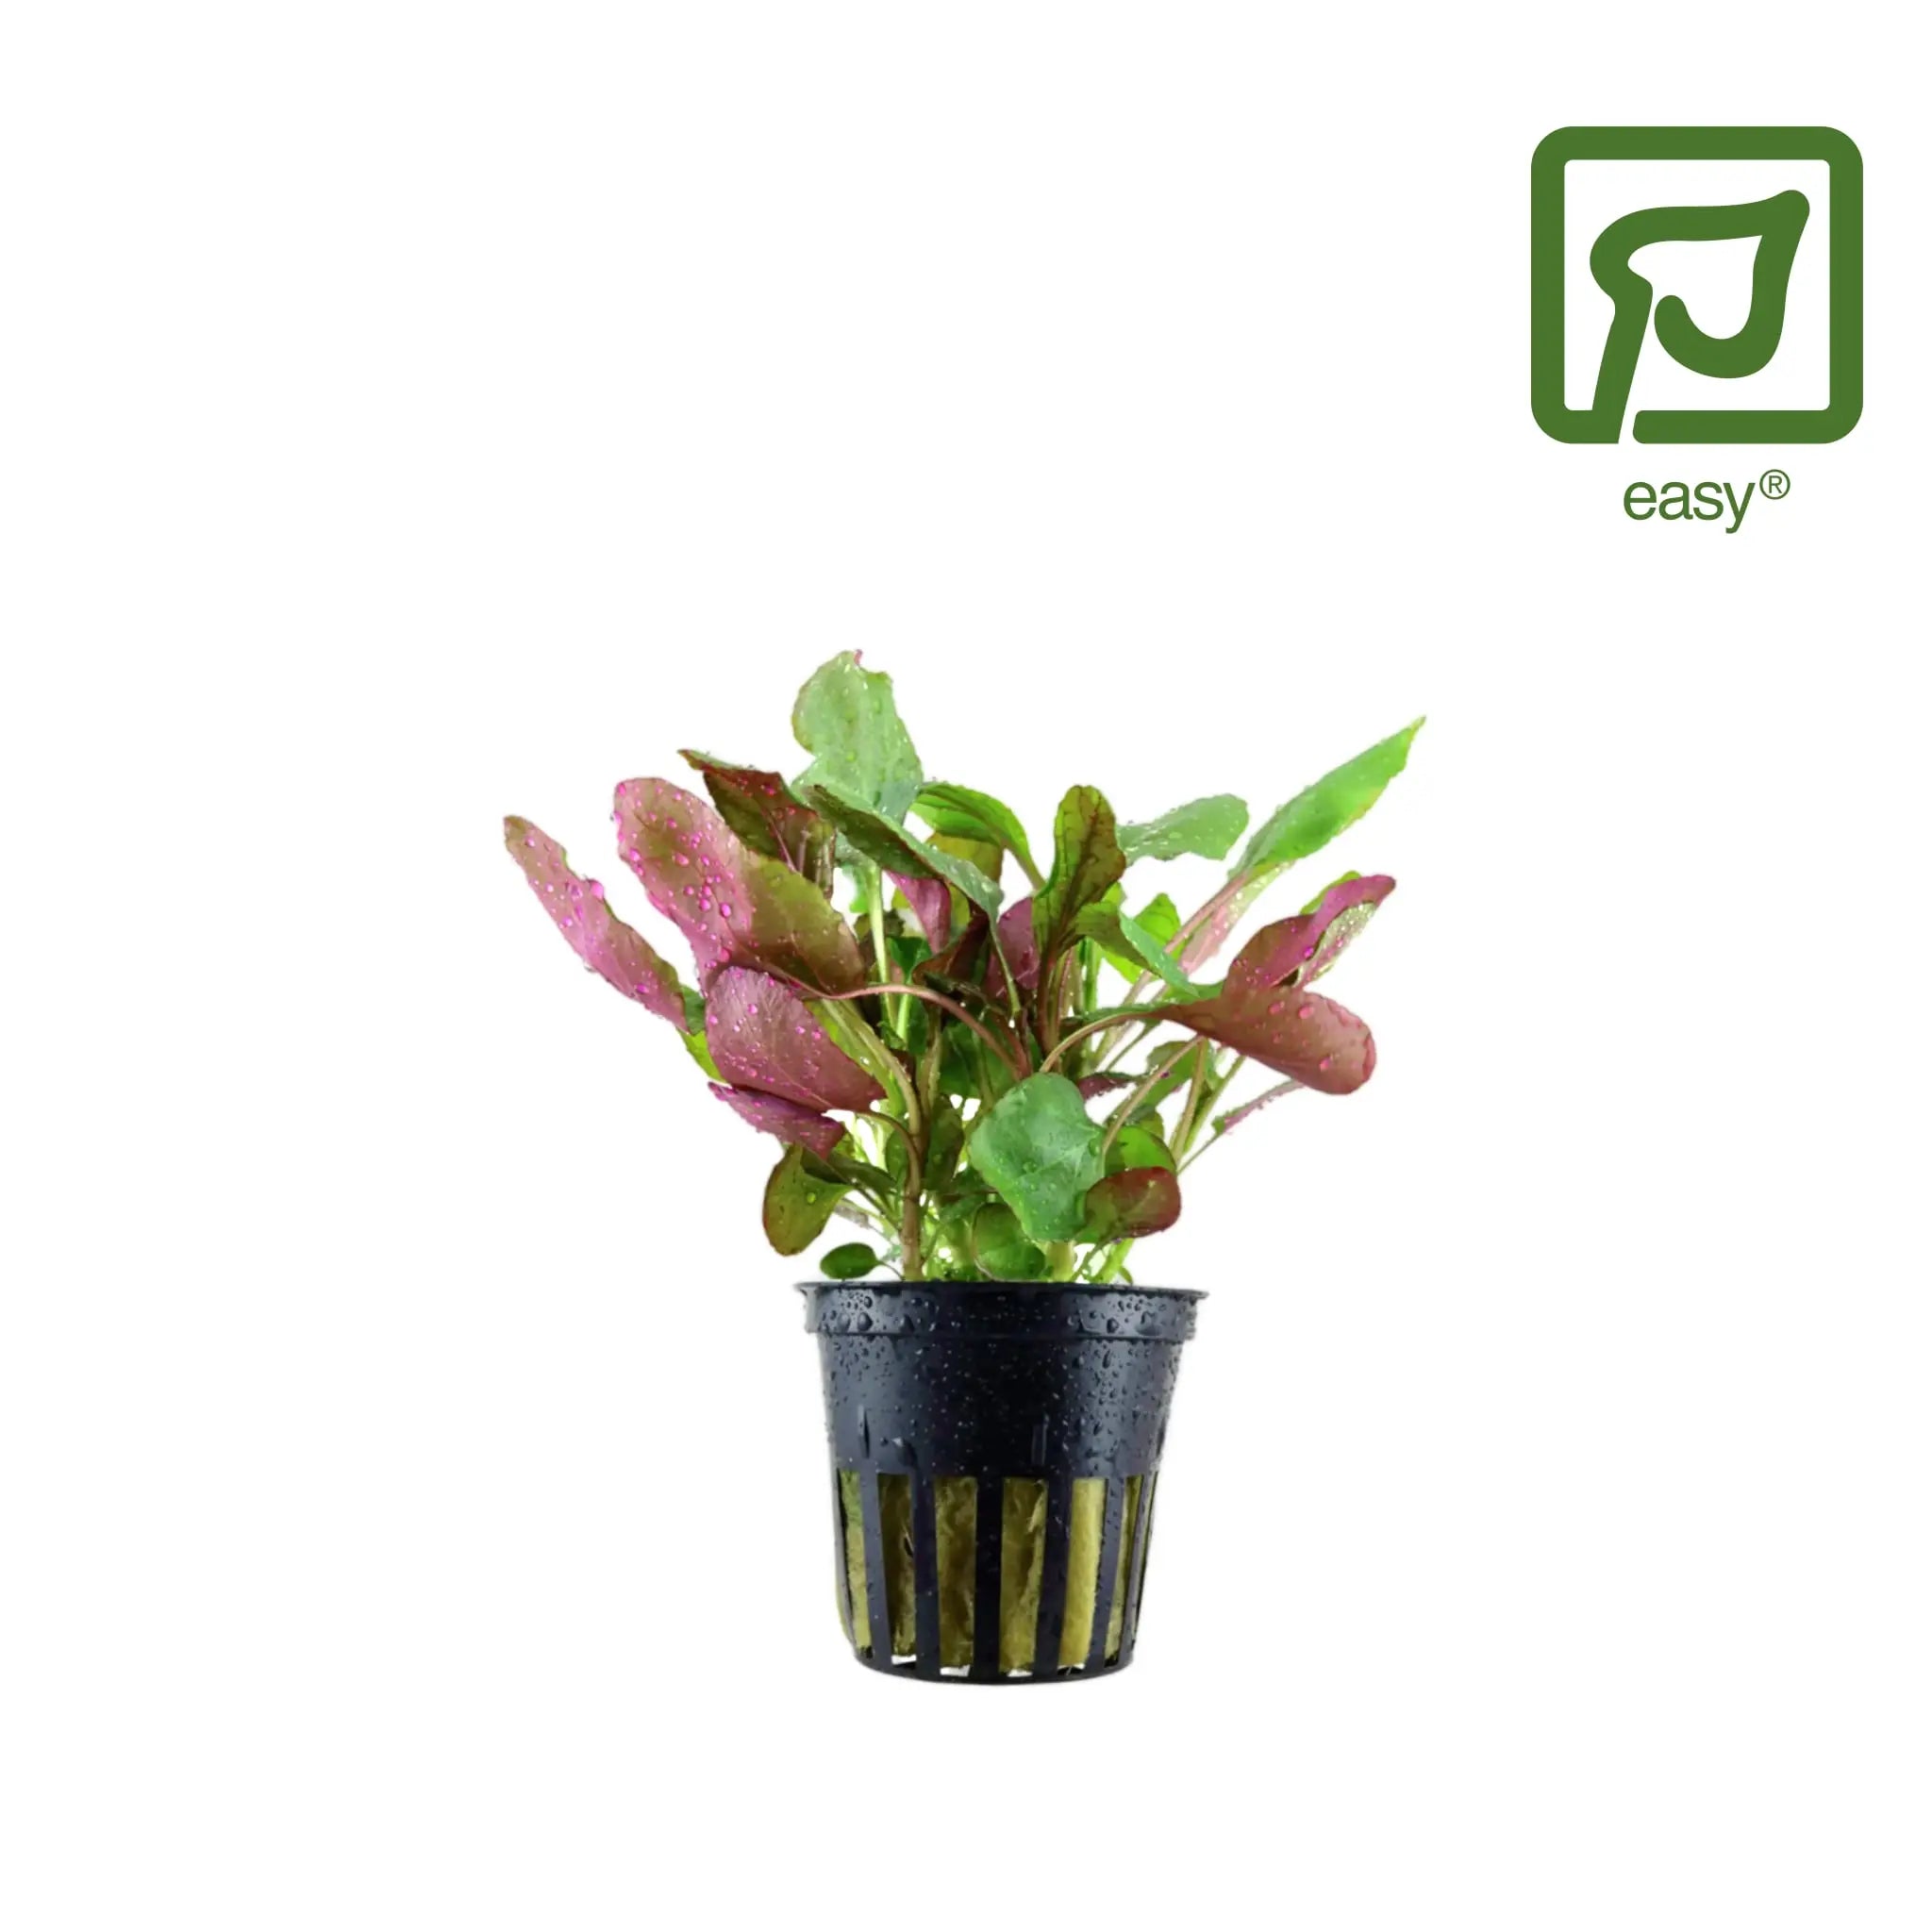
 Alternanthera reineckii PinkAlternanthera reineckii Pink
- Regular price
-
£8.99 - Regular price
-
- Sale price
-
£8.99
Quick view
-
Best Seller

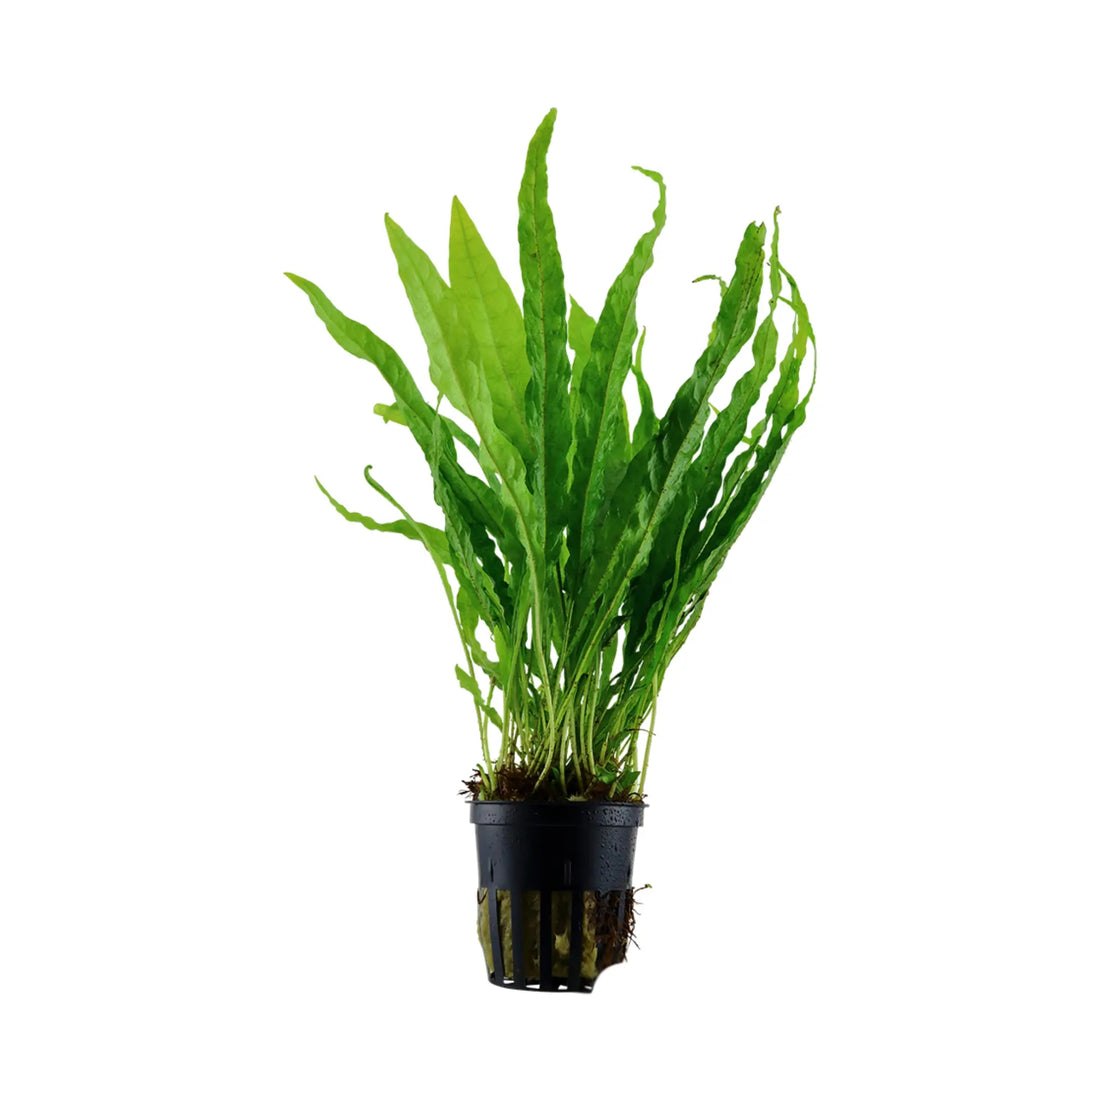
 Microsorum pteropus - Java fernMicrosorum pteropus - Java fern
- Regular price
-
£8.99 - Regular price
-
- Sale price
-
£8.99
Quick view
-
Best Seller

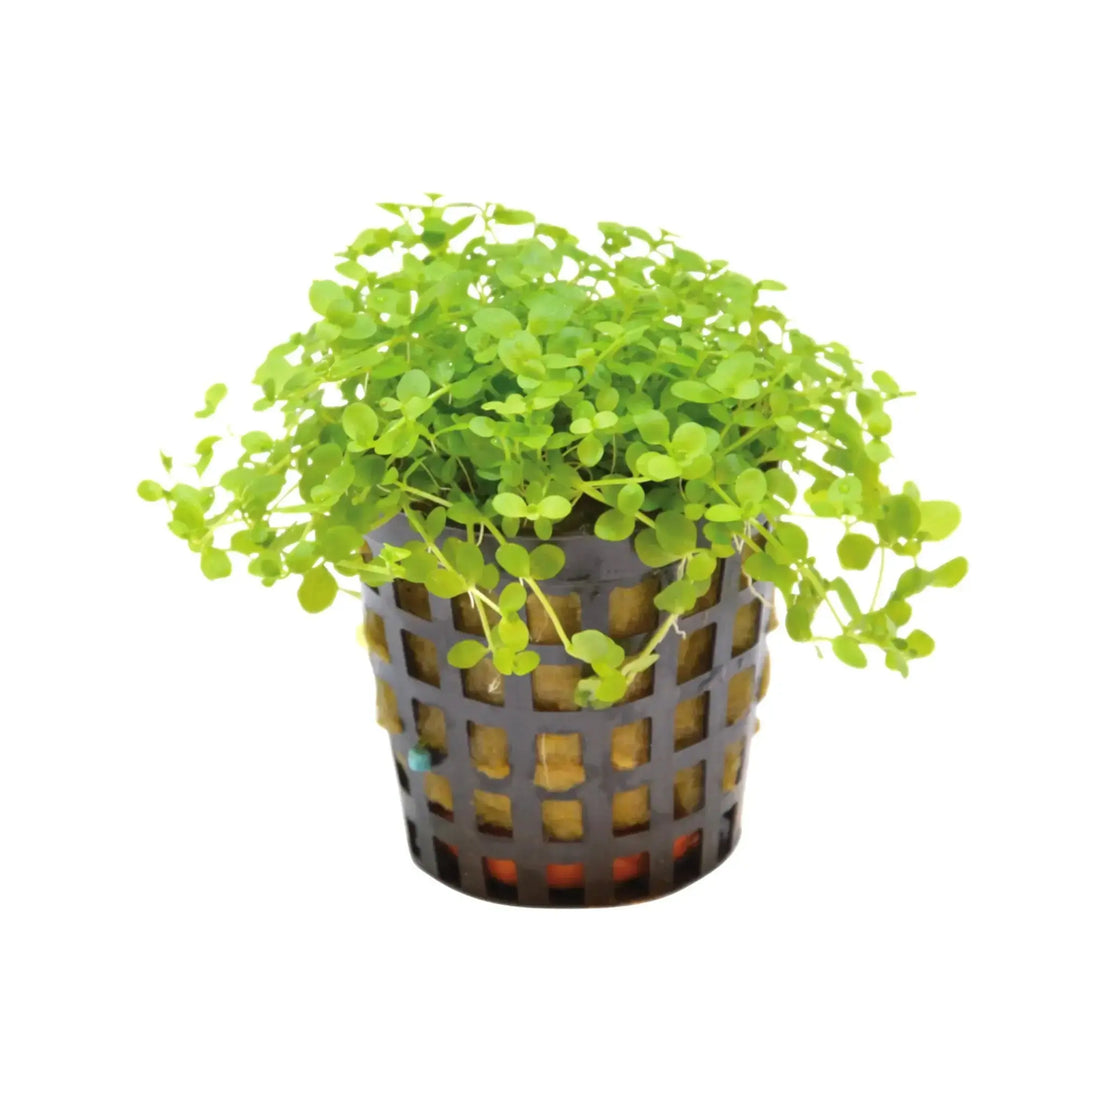
 Micranthemum Monte CarloMicranthemum Monte Carlo
- Regular price
-
£7.99 - Regular price
-
- Sale price
-
£7.99
Quick view
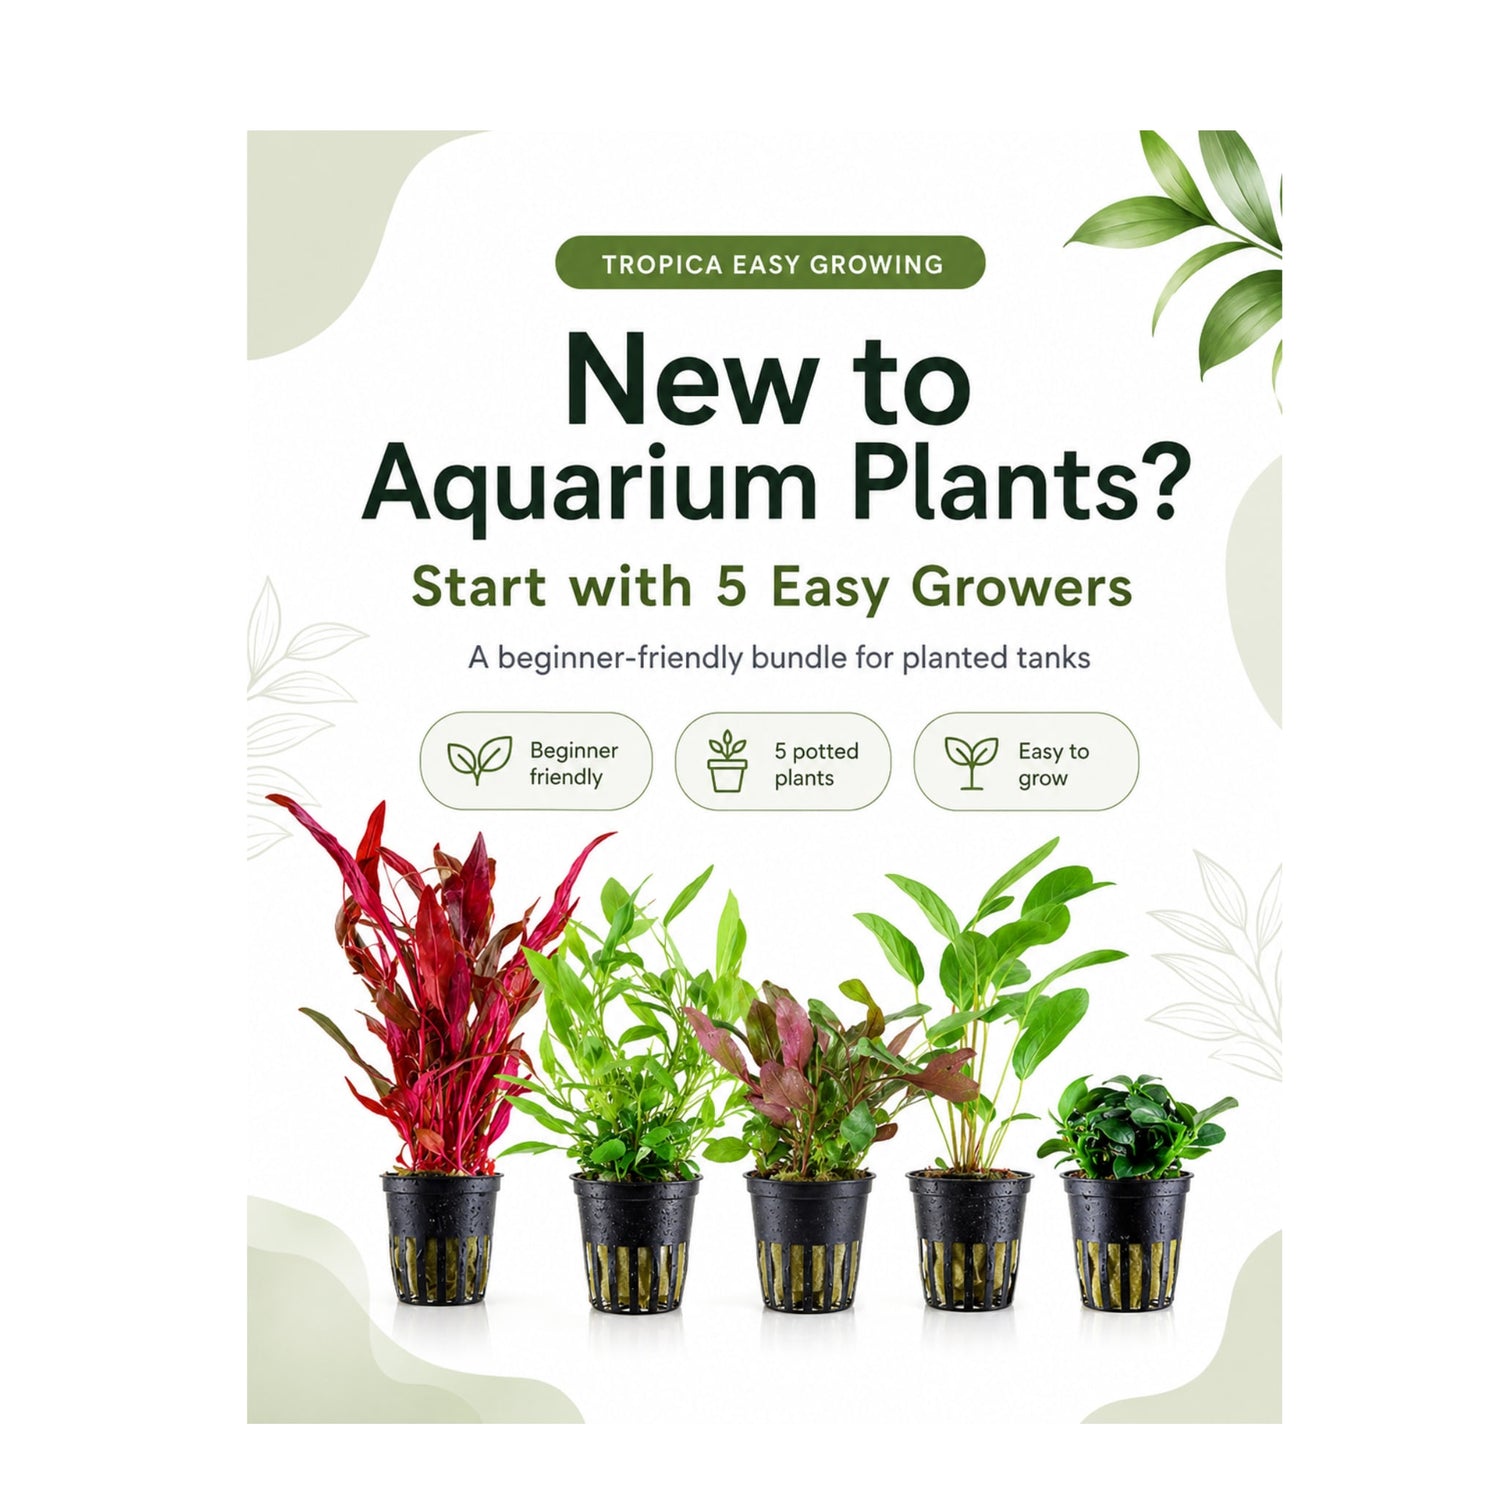
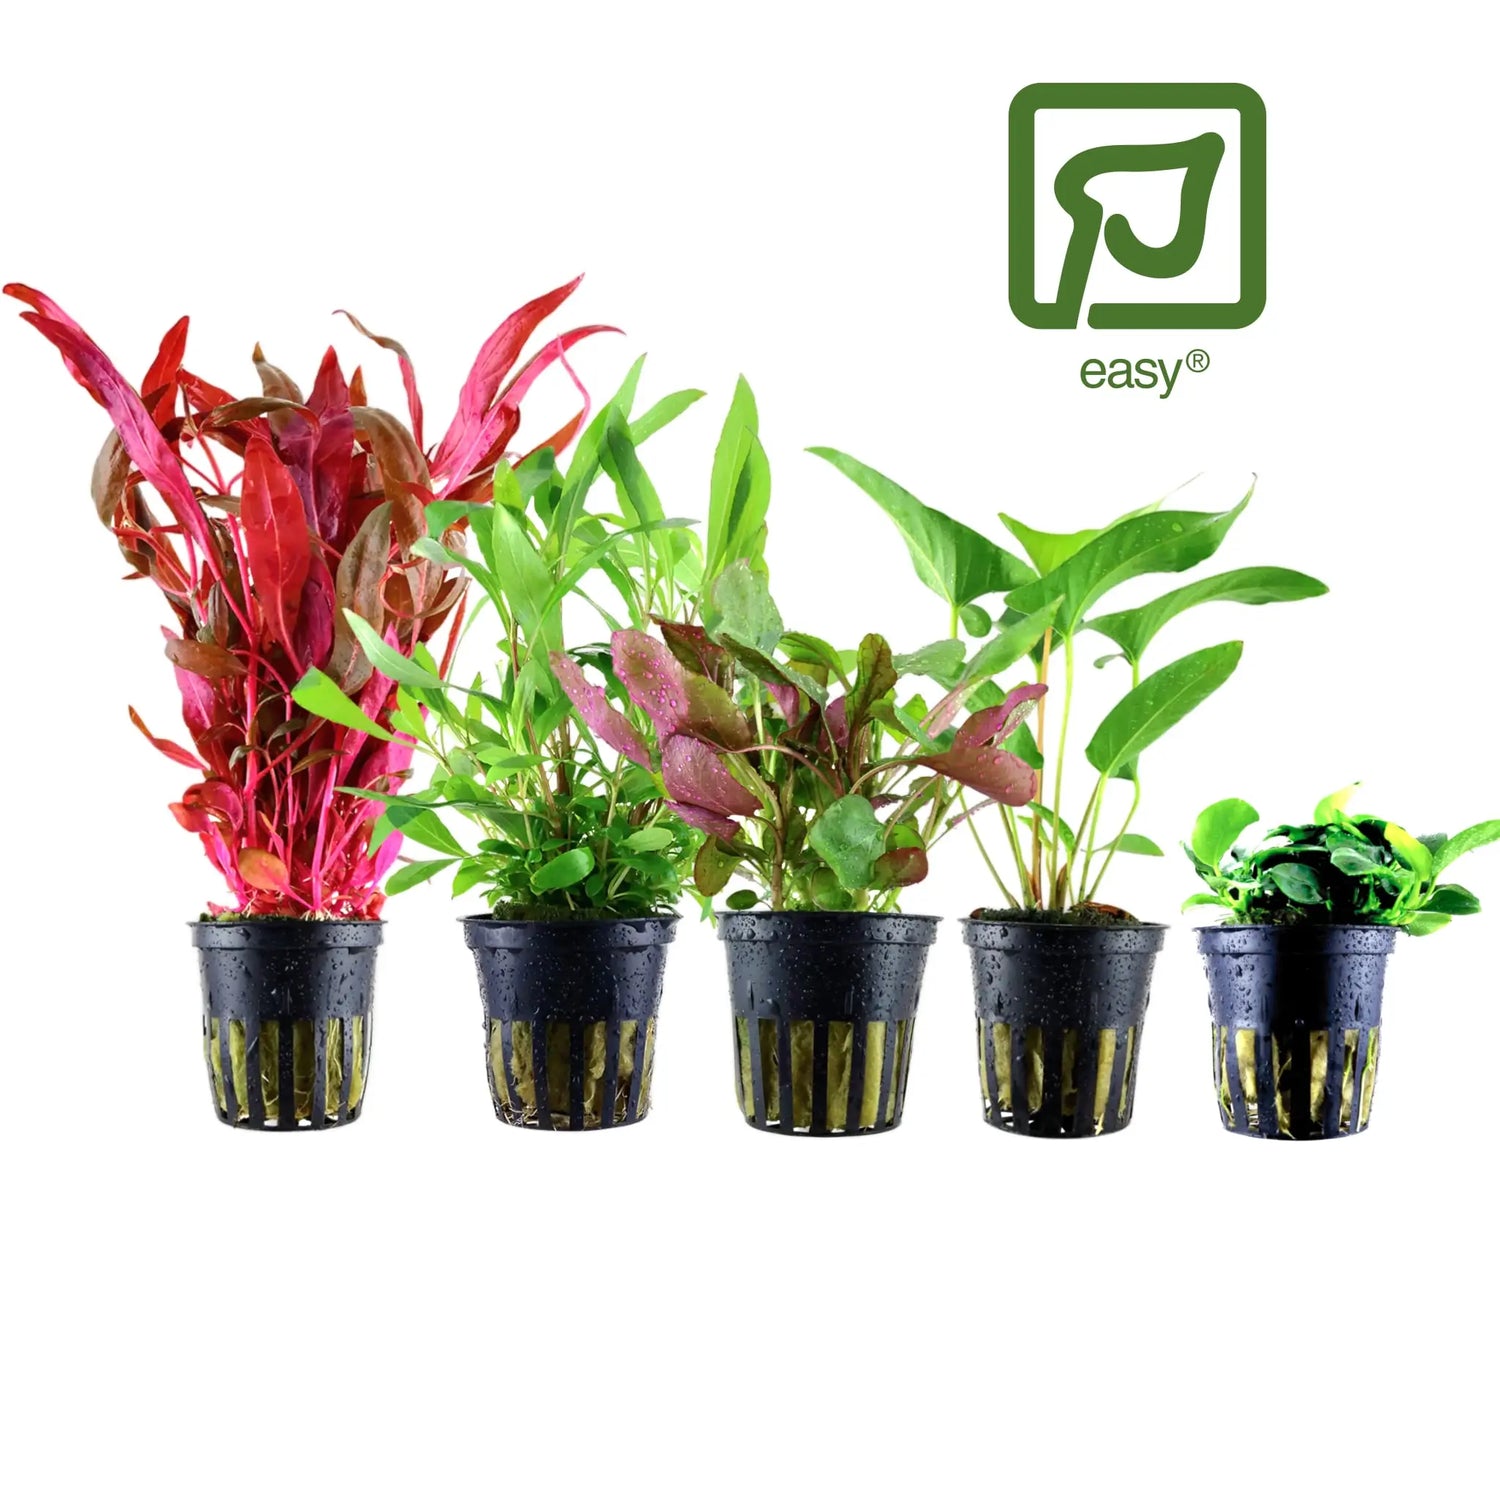


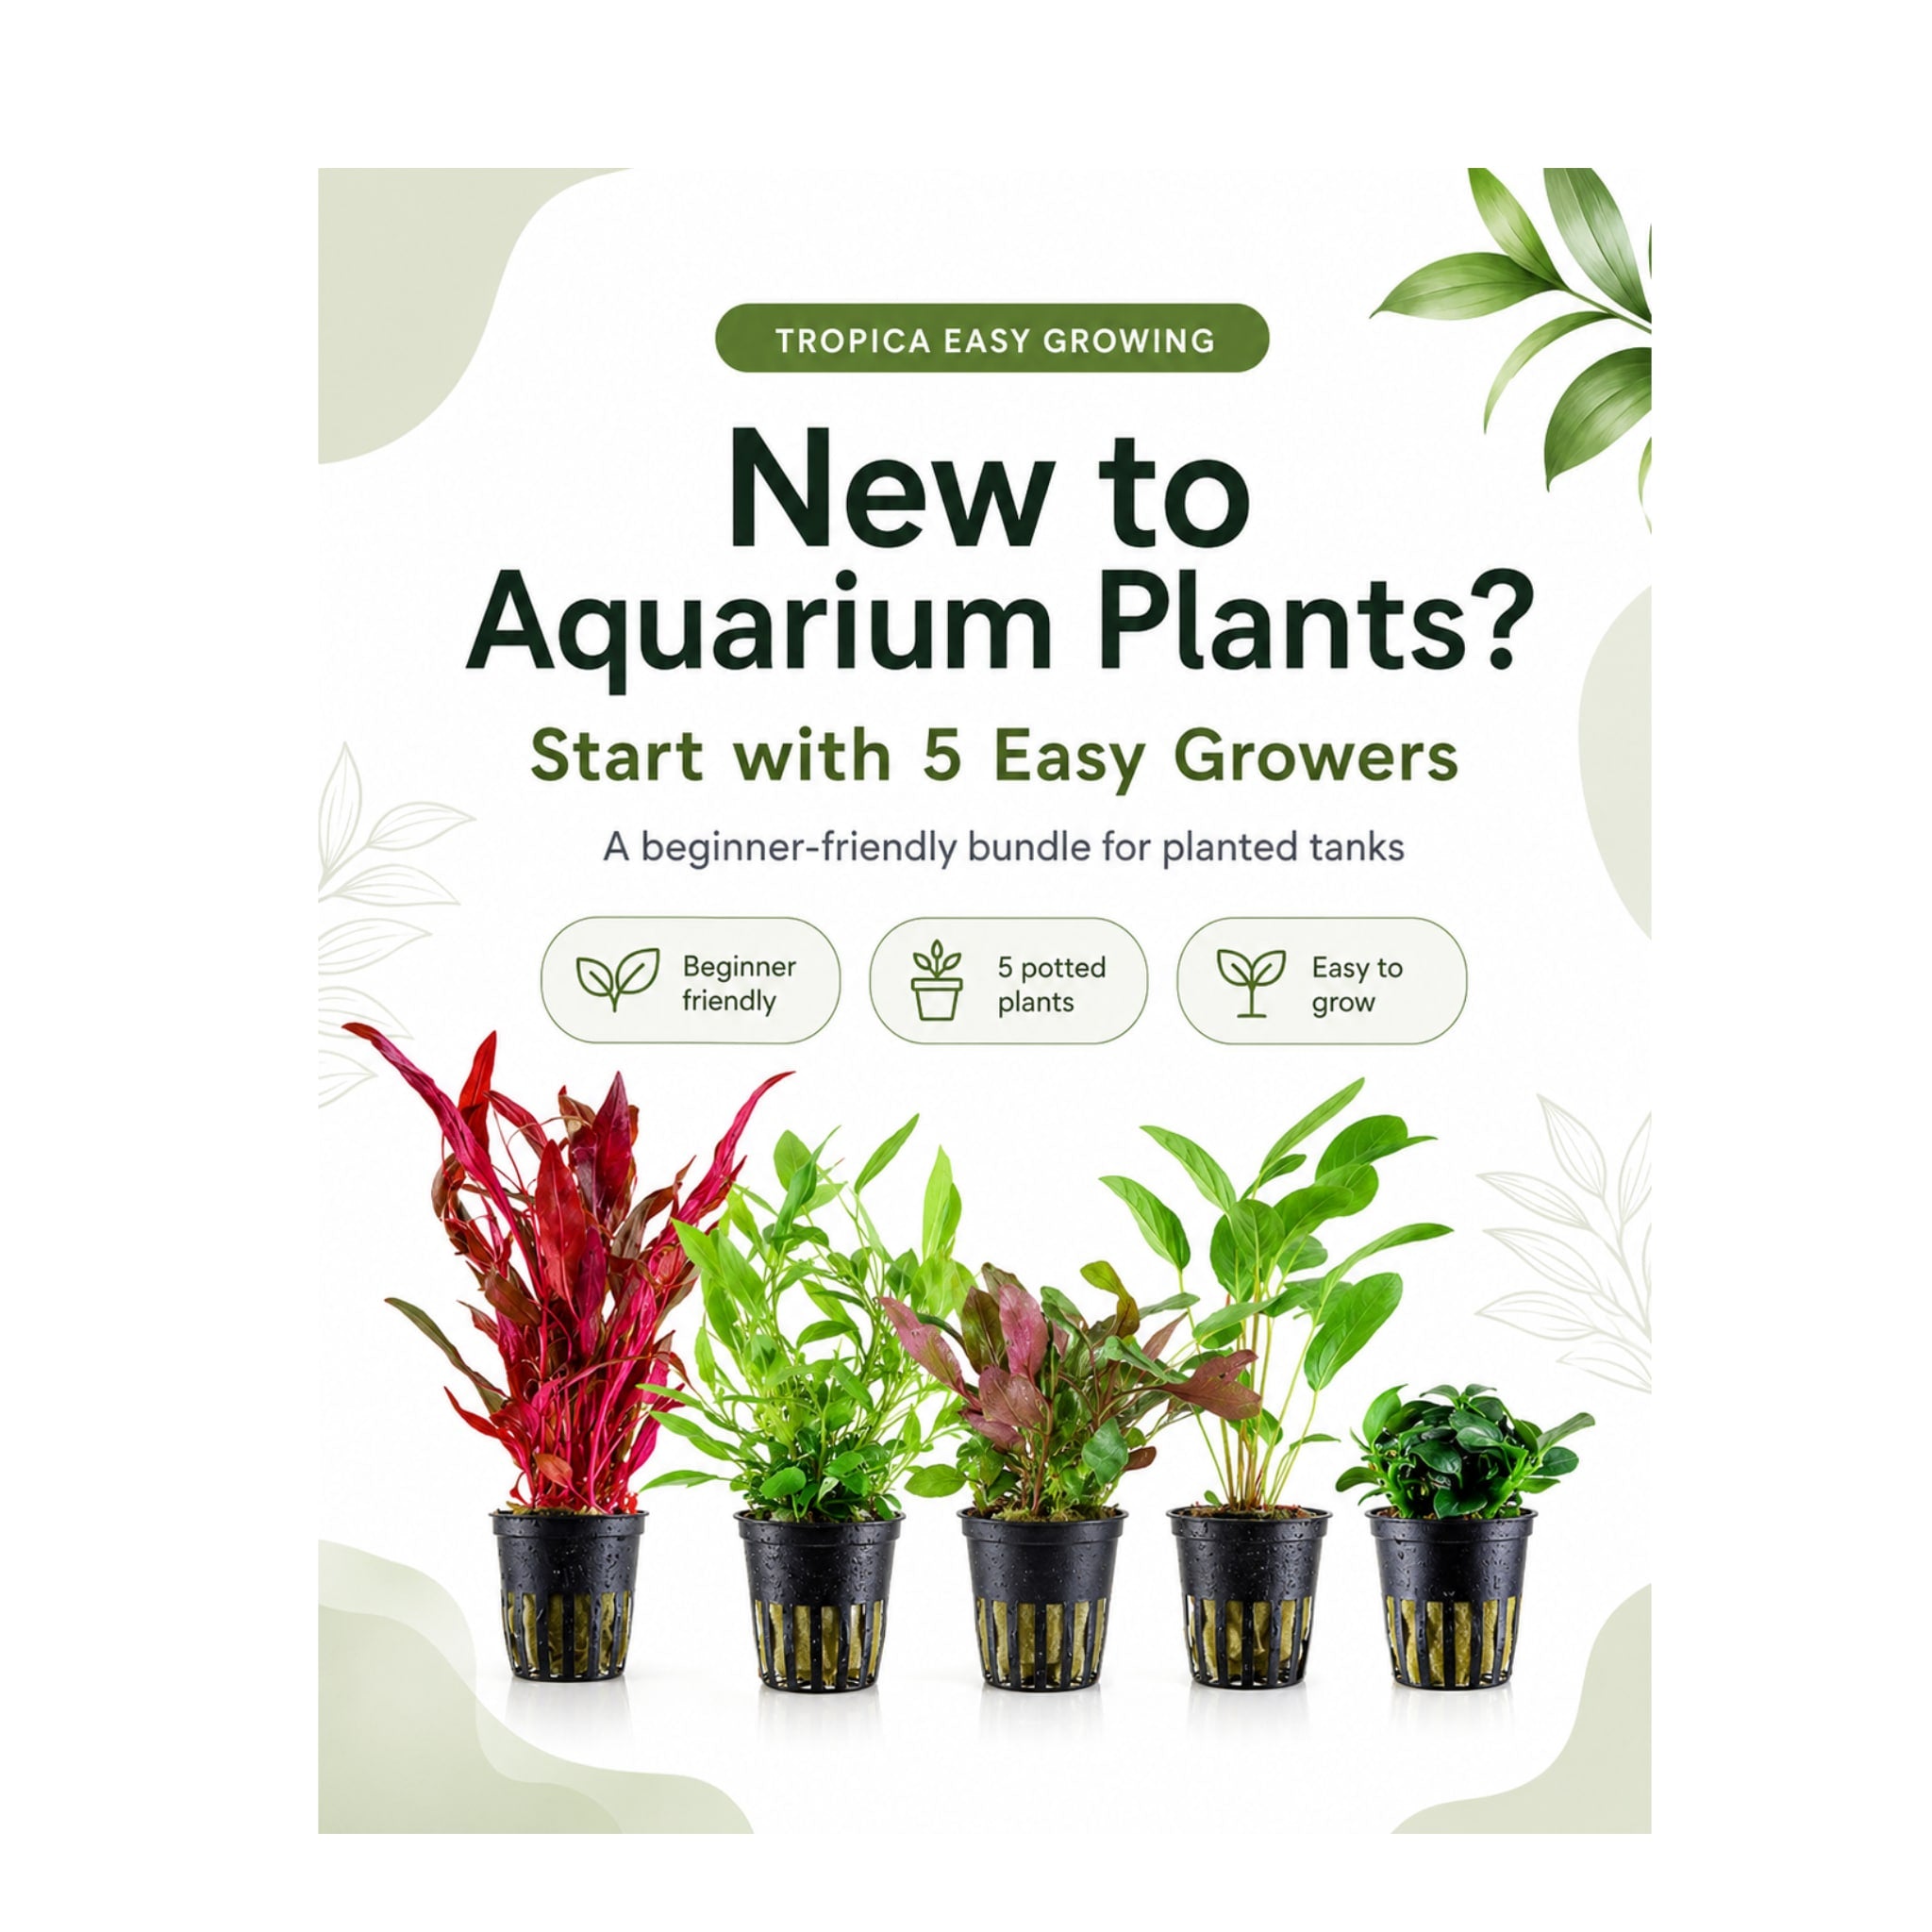
Tropica Beginner Aquarium Plant Bundle - 5 Easy-Care Live Plants
- Regular price
-
£31.99 - Regular price
-
£37.95 - Sale price
-
£31.99
Starting a planted aquarium can feel confusing when there are so many plants to choose from. This bundle keeps it simple.
The Tropica Easy Growing Aquarium Plants Bundle gives you five carefully selected plants that are well suited to beginners, low-maintenance aquariums and anyone who wants reliable growth without overcomplicating things.
You’ll get a natural mix of colour, leaf shape and texture, including green background plants, compact foreground interest and the rich contrast of Alternanthera reineckii Pink. Together, they help your aquarium look fuller, fresher and more established from the start.
These plants are chosen because they’re forgiving, attractive and easy to work with, making them a smart choice if you’re new to planted tanks or you’ve struggled with aquarium plants before.
This bundle includes:
Alternanthera reineckii Pink
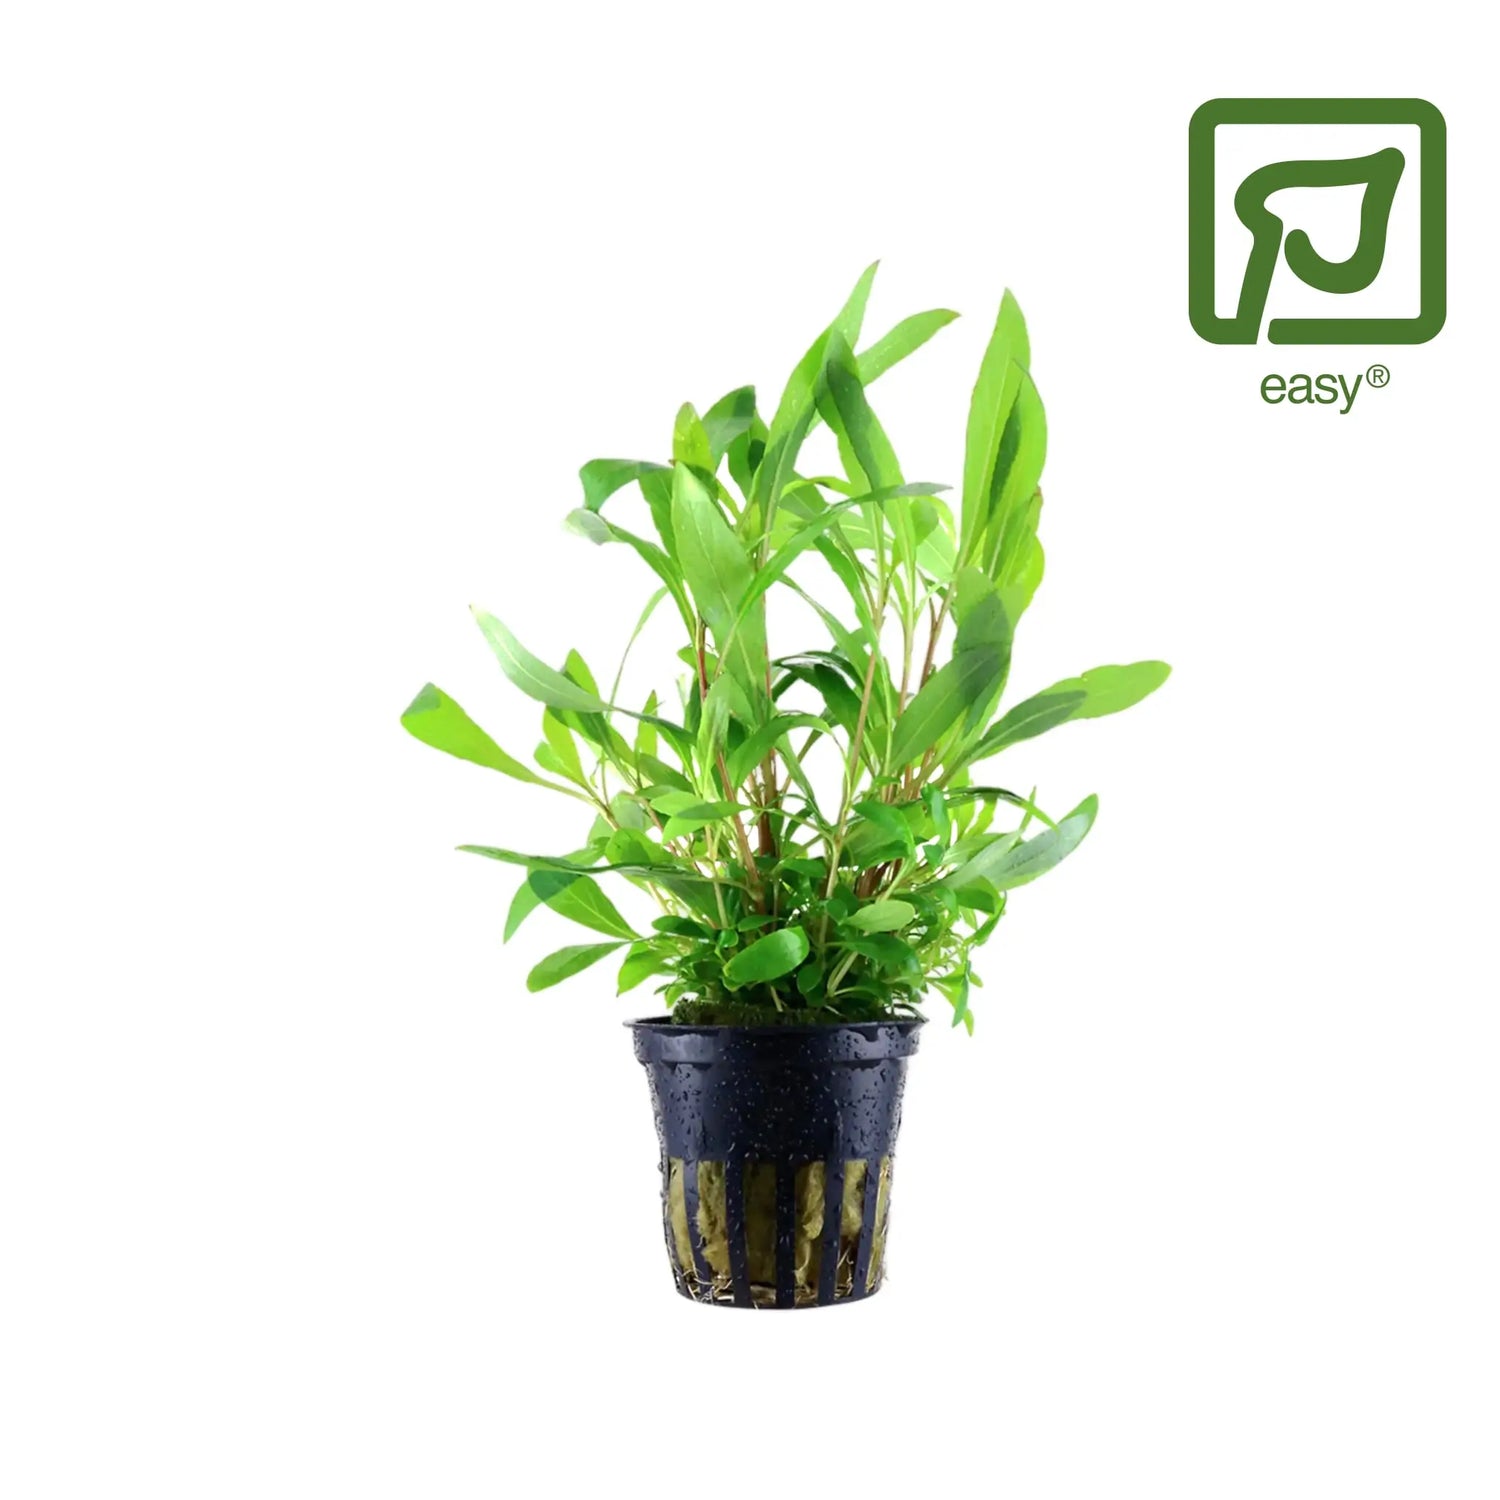
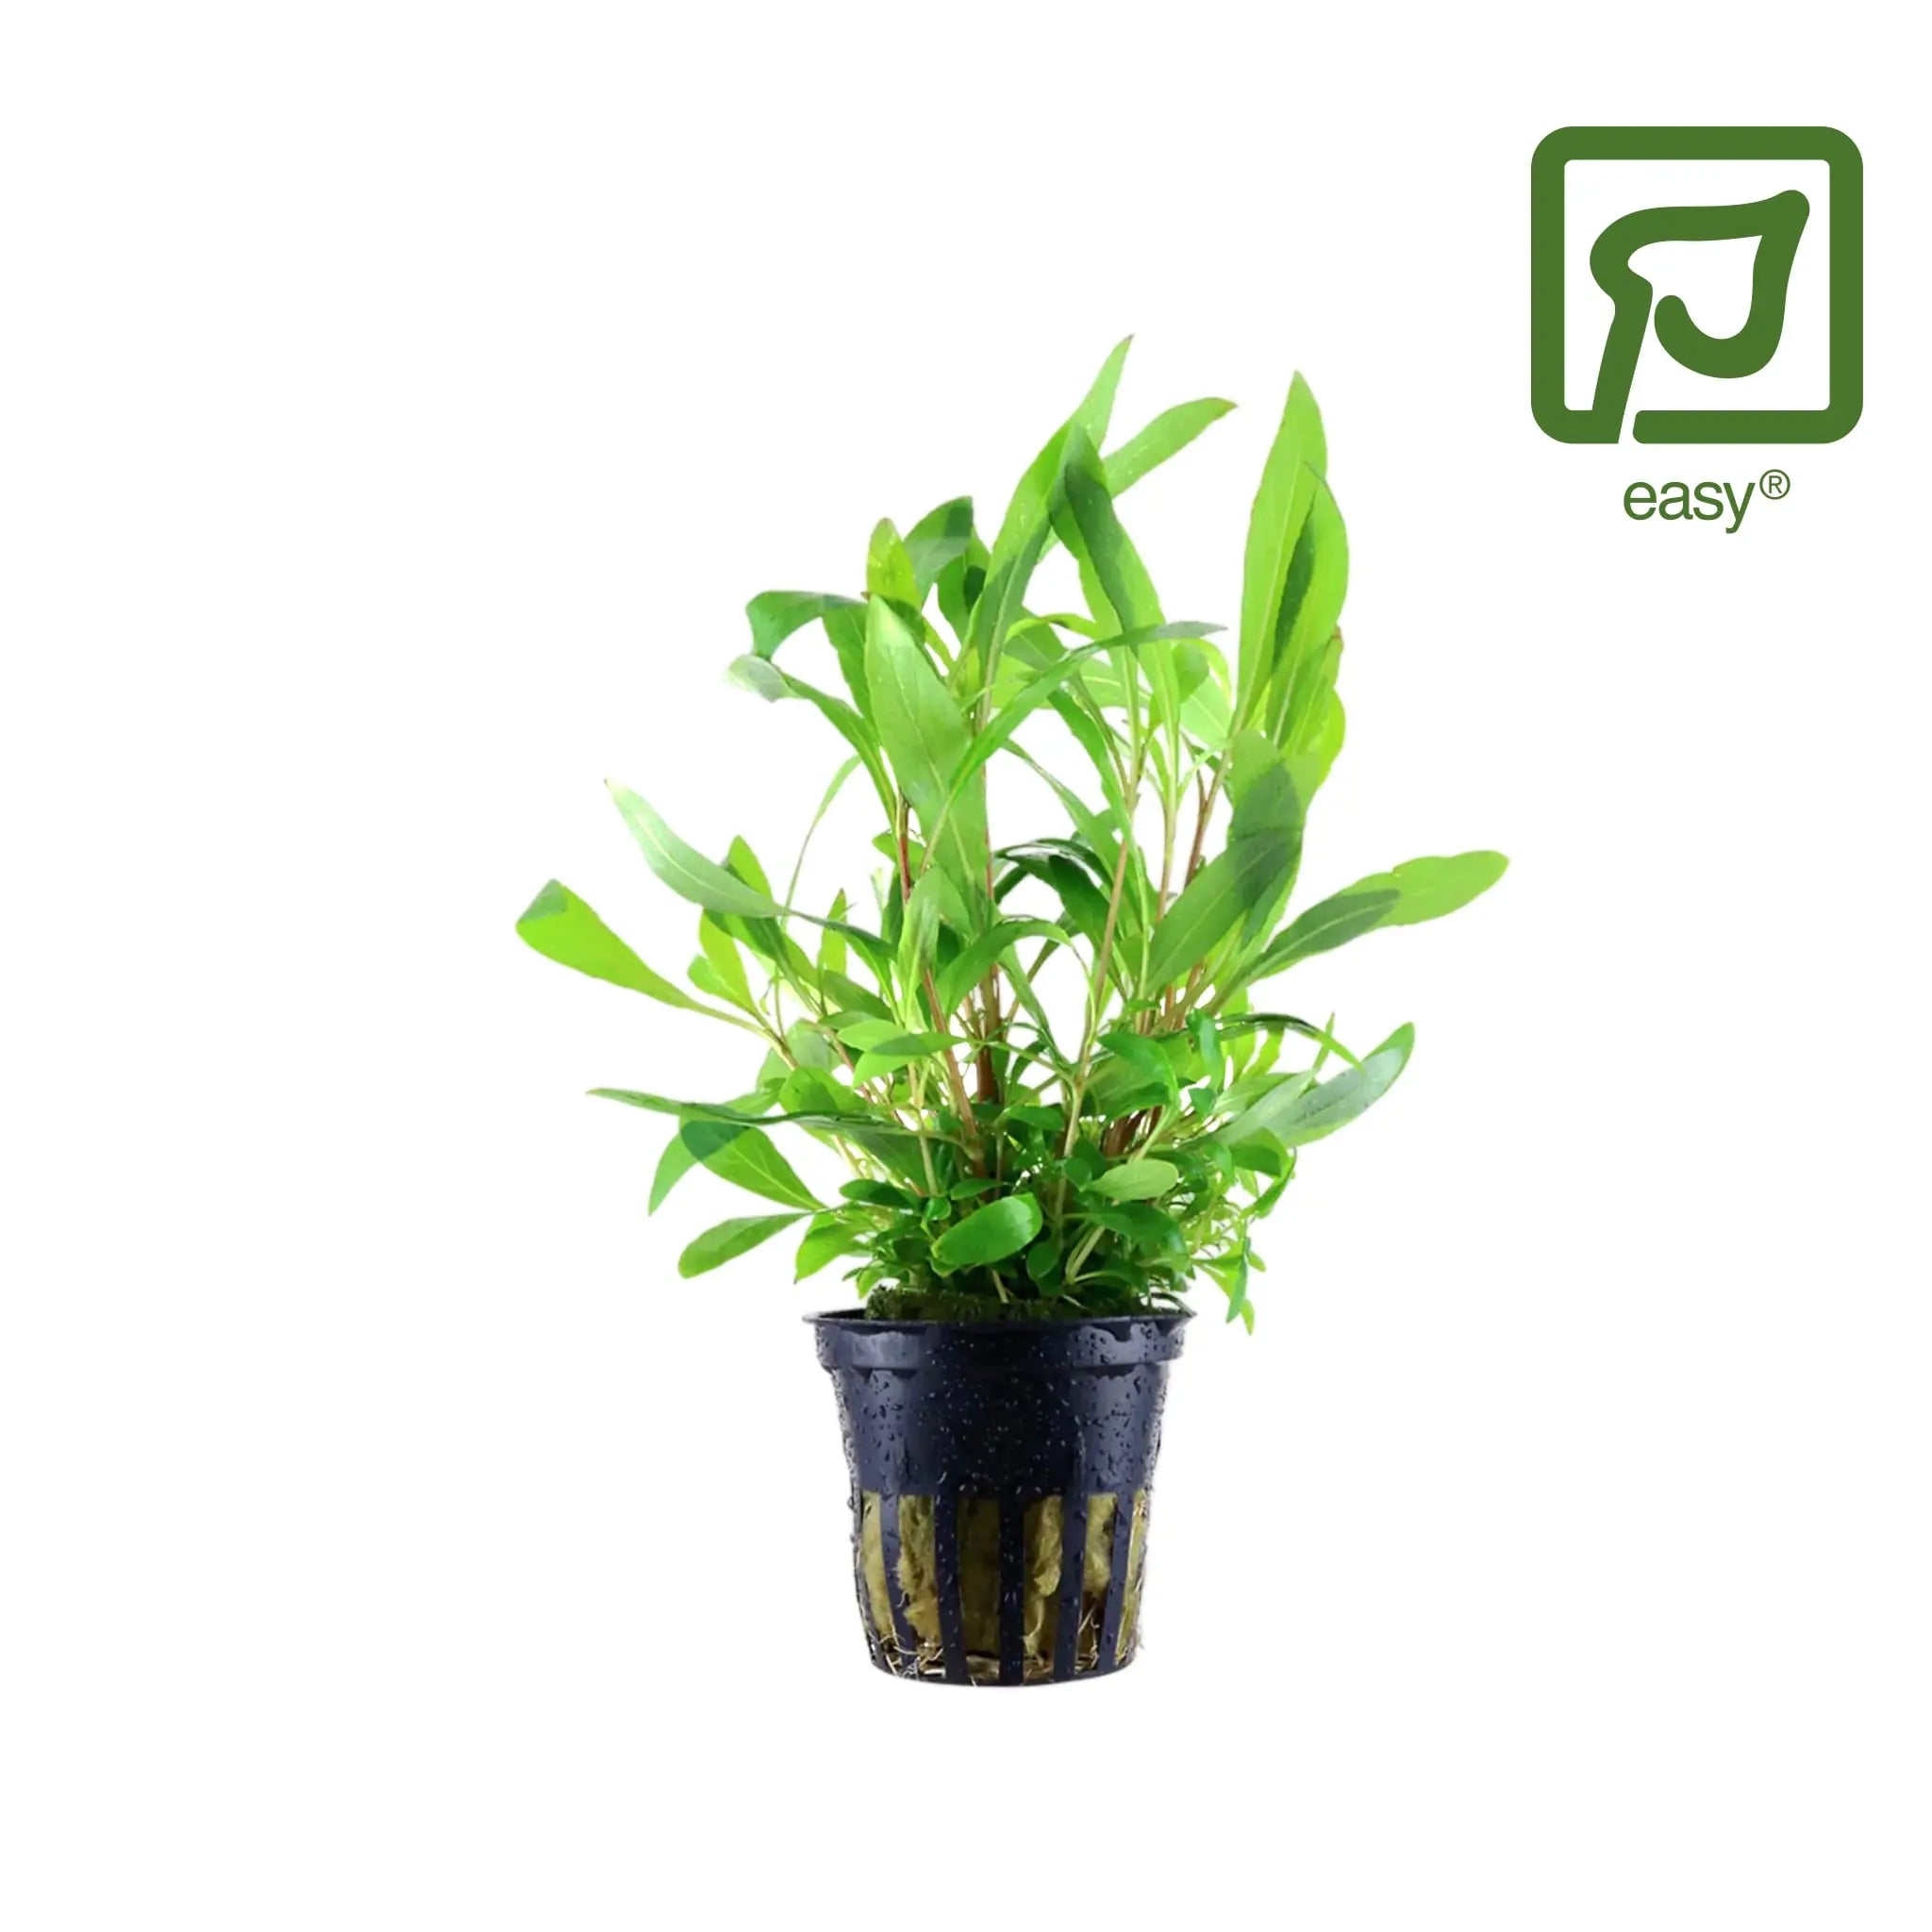
Hygrophila 53b
Lobelia cardinalis
Anubias gracilis
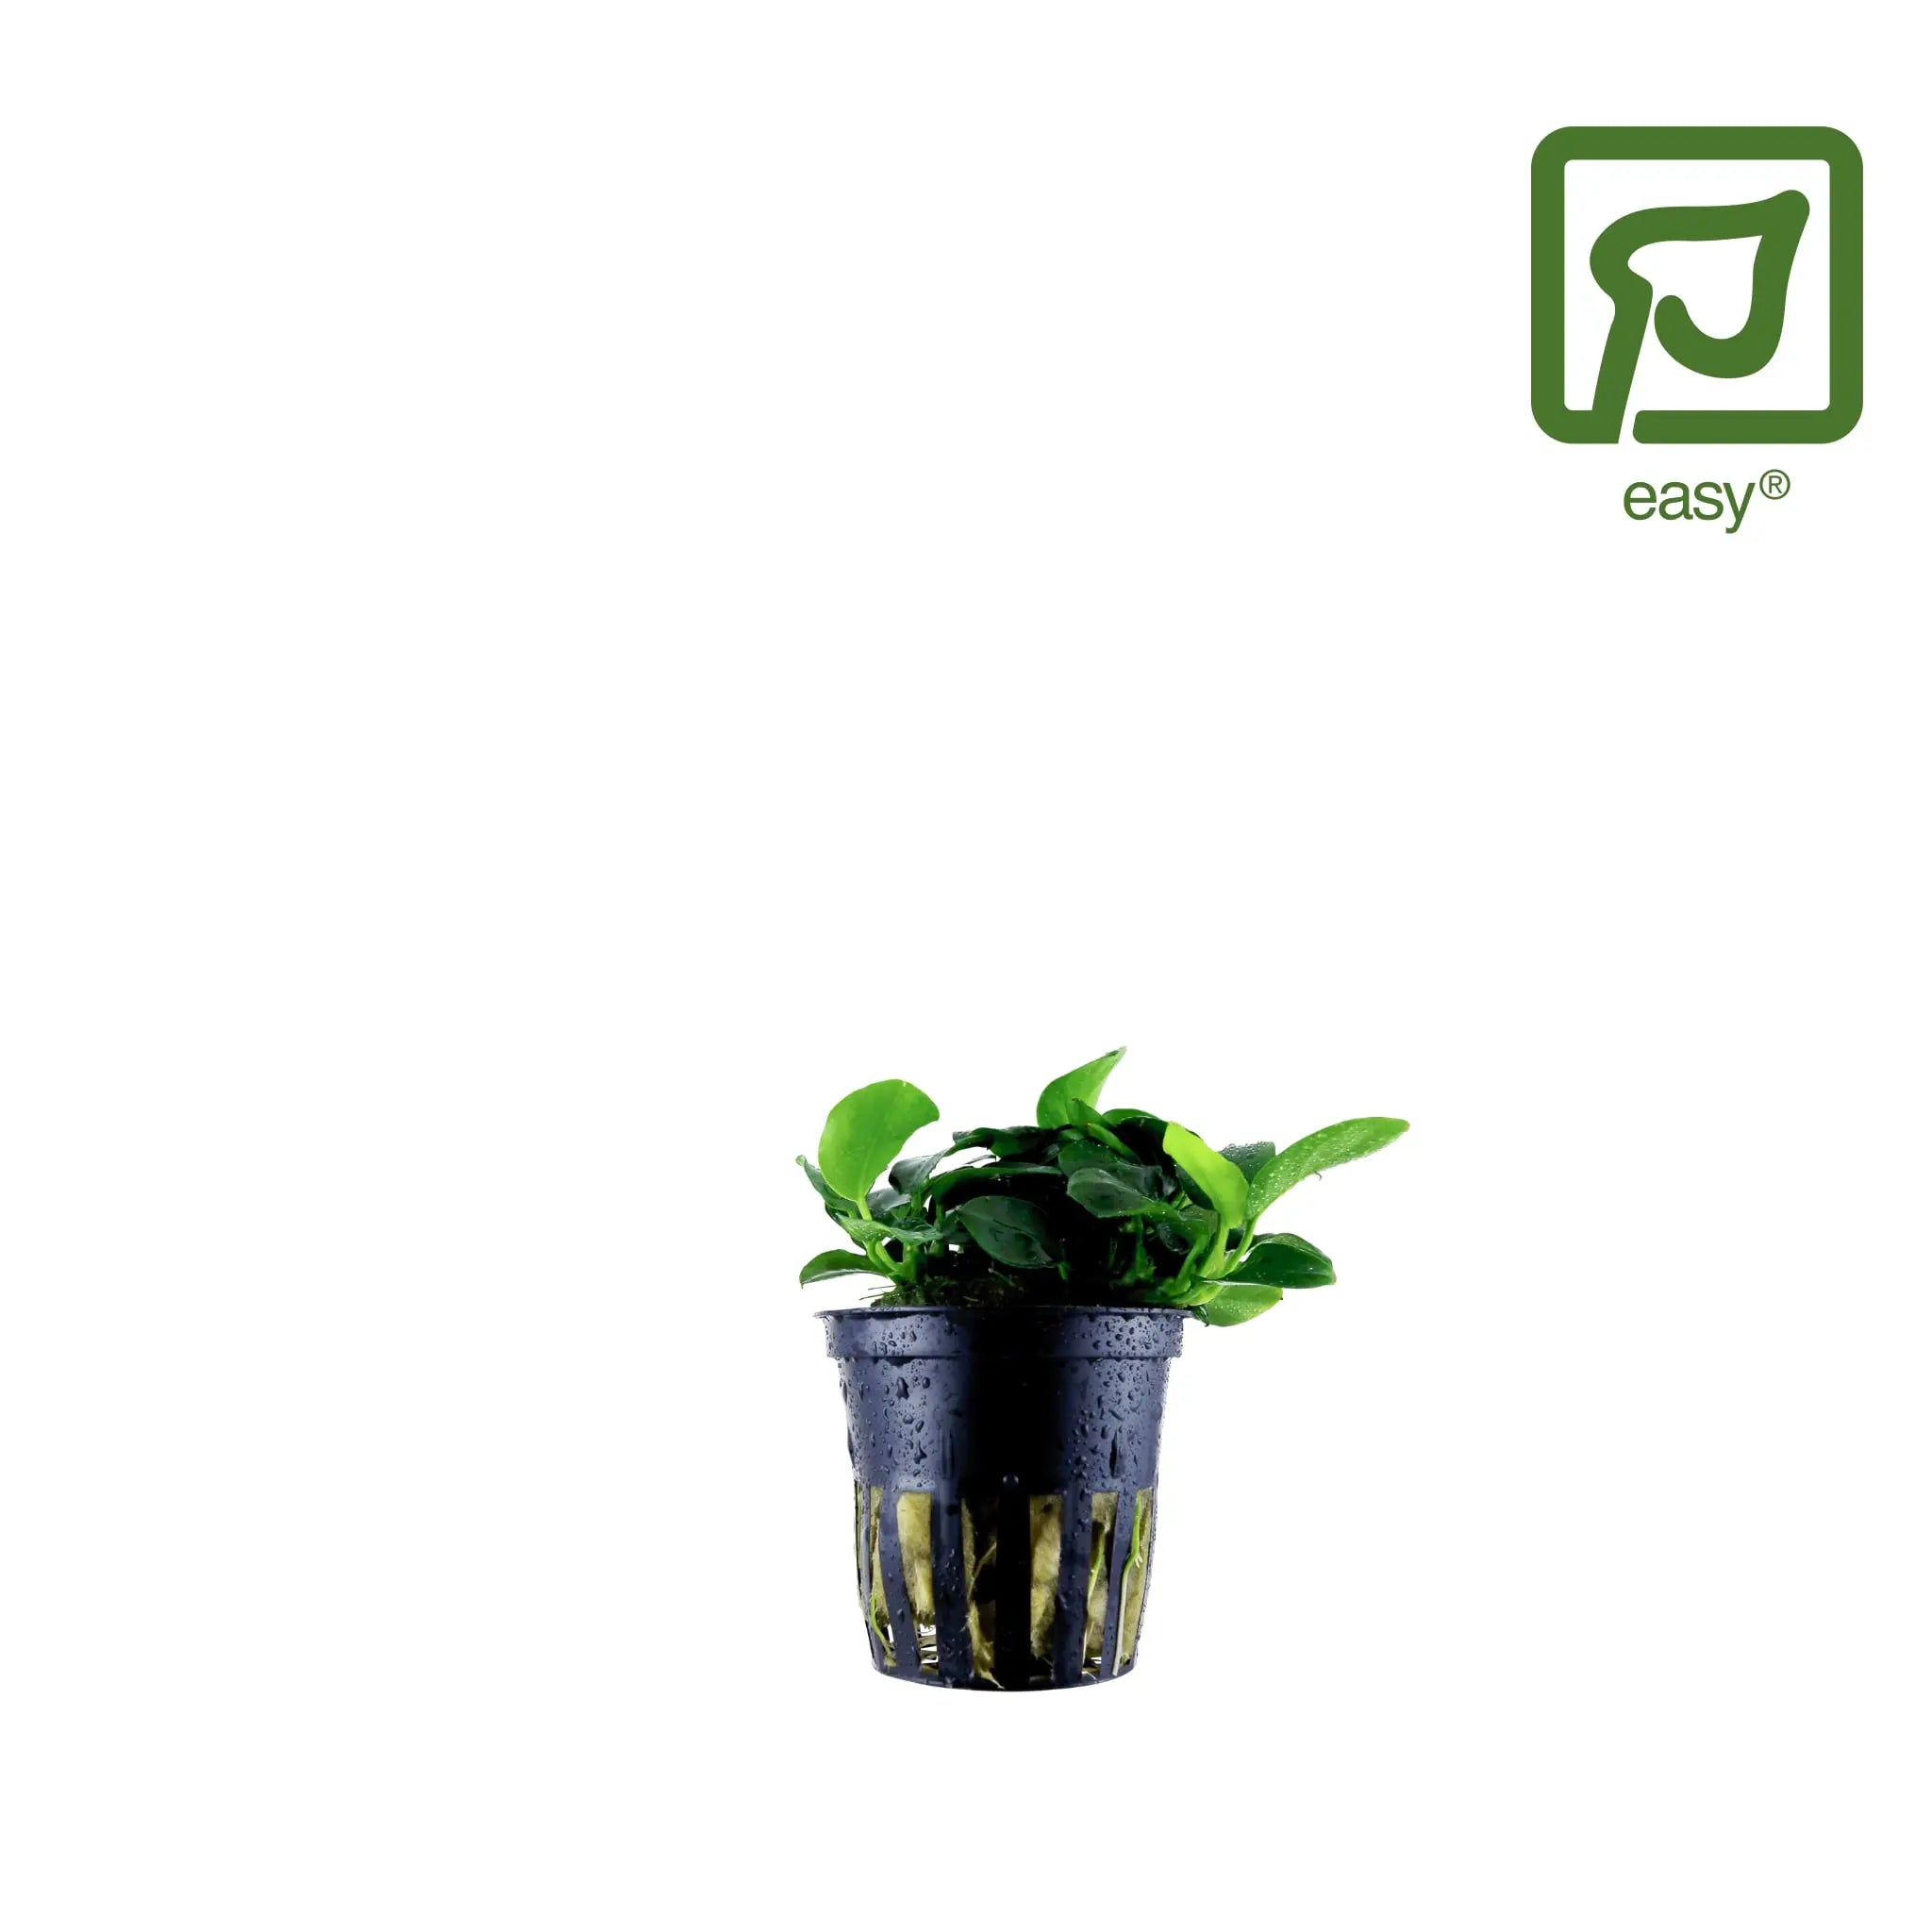
Anubias petite
A simple, good-looking starter selection that takes the guesswork out of choosing aquarium plants. 🌿
-
Hurry, only 5 items left in stock!


Quick view
Bolbitis heudelotii
-
Regular price
-
£8.99
-
Regular price
-
-
Sale price
-
£8.99
Bolbitis heudelotii
- Regular price
-
£8.99 - Regular price
-
- Sale price
-
£8.99
Quick view
Aquarium CO₂ Drop Checker (monitors CO₂ levels)
-
Regular price
-
£11.99
-
Regular price
-
-
Sale price
-
£11.99
Aquarium CO₂ Drop Checker (monitors CO₂ levels)
- Regular price
-
£11.99 - Regular price
-
- Sale price
-
£11.99
Quick view
SpiderWood - Medium (30-40cm approx)
-
Regular price
-
£16.99
-
Regular price
-
-
Sale price
-
£16.99
SpiderWood - Medium (30-40cm approx)
- Regular price
-
£16.99 - Regular price
-
- Sale price
-
£16.99
Quick view
Eleocharis acicularis
-
Regular price
-
£7.99
-
Regular price
-
-
Sale price
-
£7.99
Eleocharis acicularis
- Regular price
-
£7.99 - Regular price
-
- Sale price
-
£7.99
Quick view
Vesicularia montagnei Christmas
-
Regular price
-
£8.99
-
Regular price
-
-
Sale price
-
£8.99
Vesicularia montagnei Christmas
- Regular price
-
£8.99 - Regular price
-
- Sale price
-
£8.99
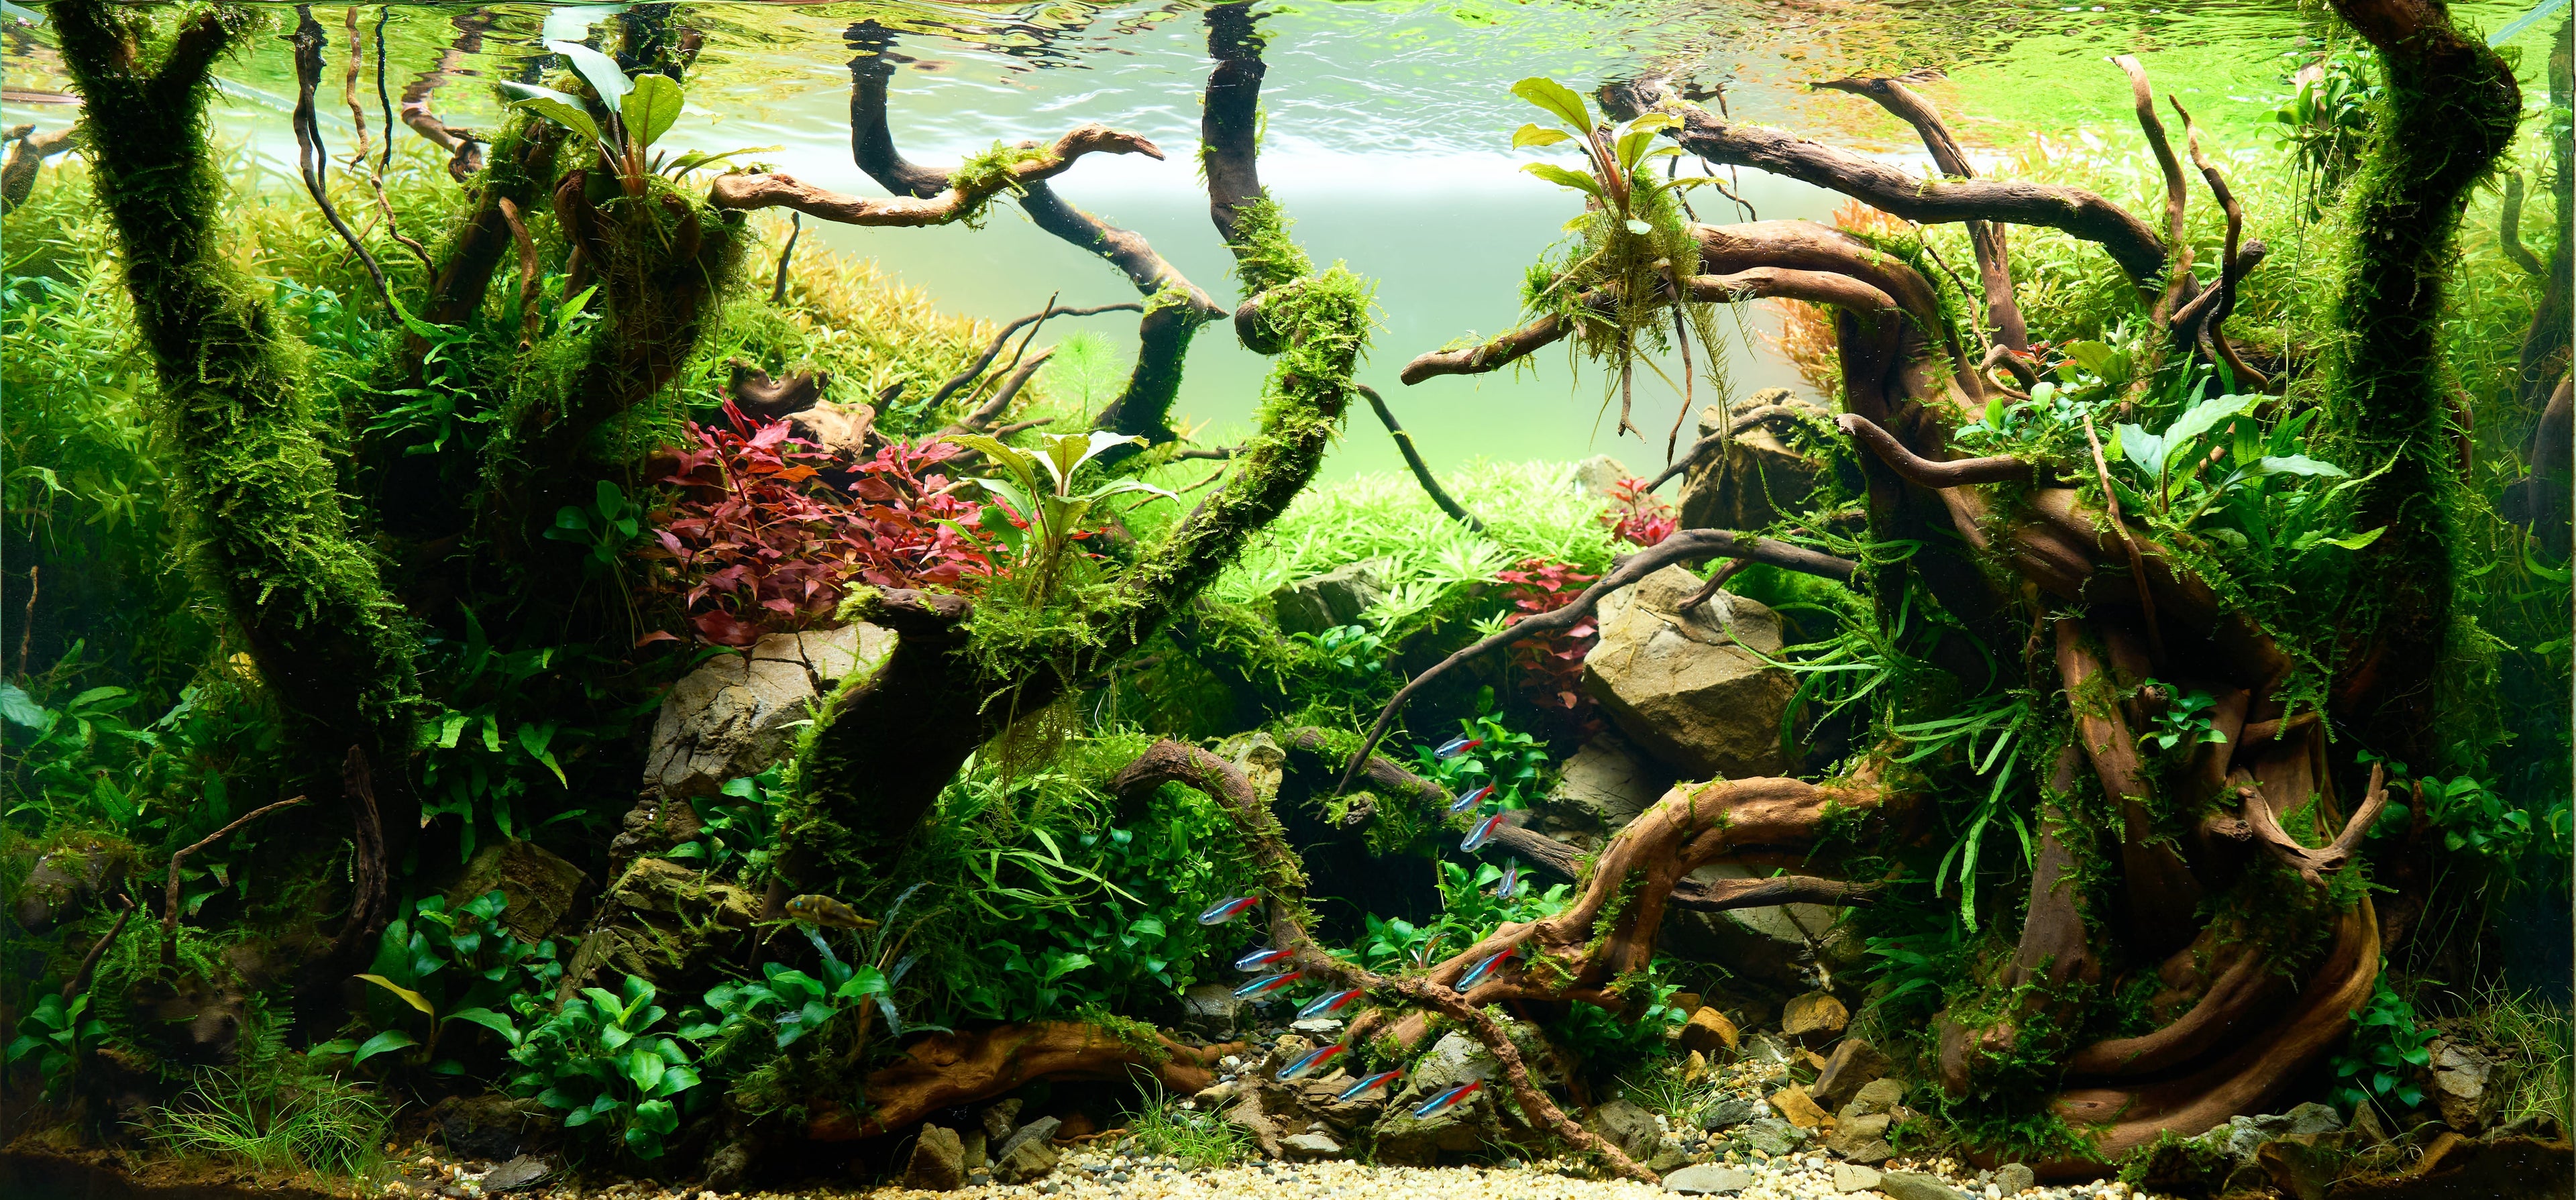
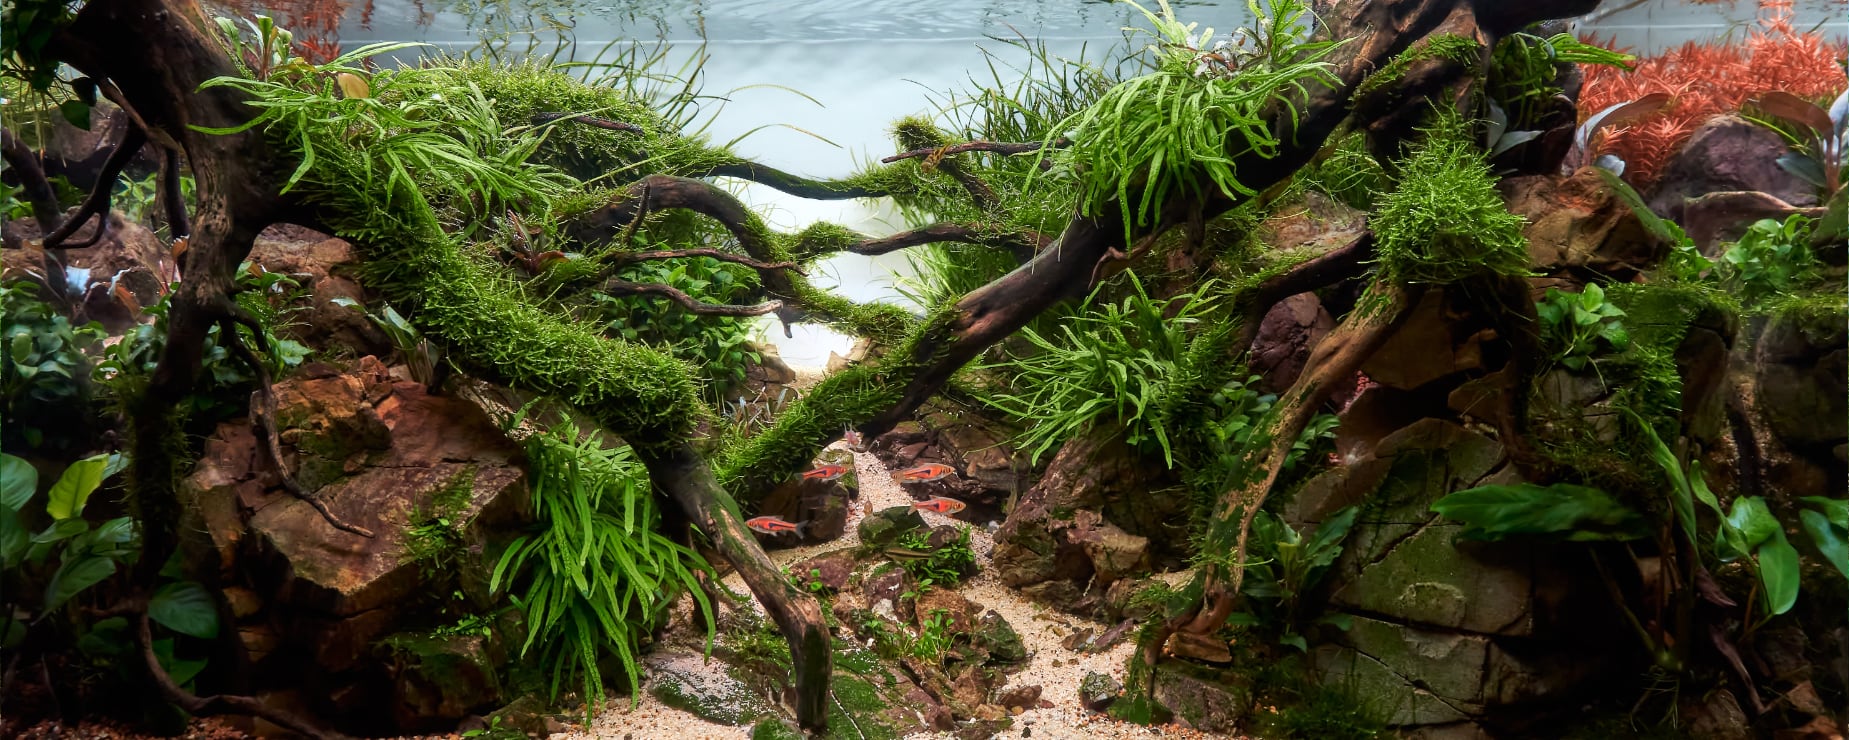
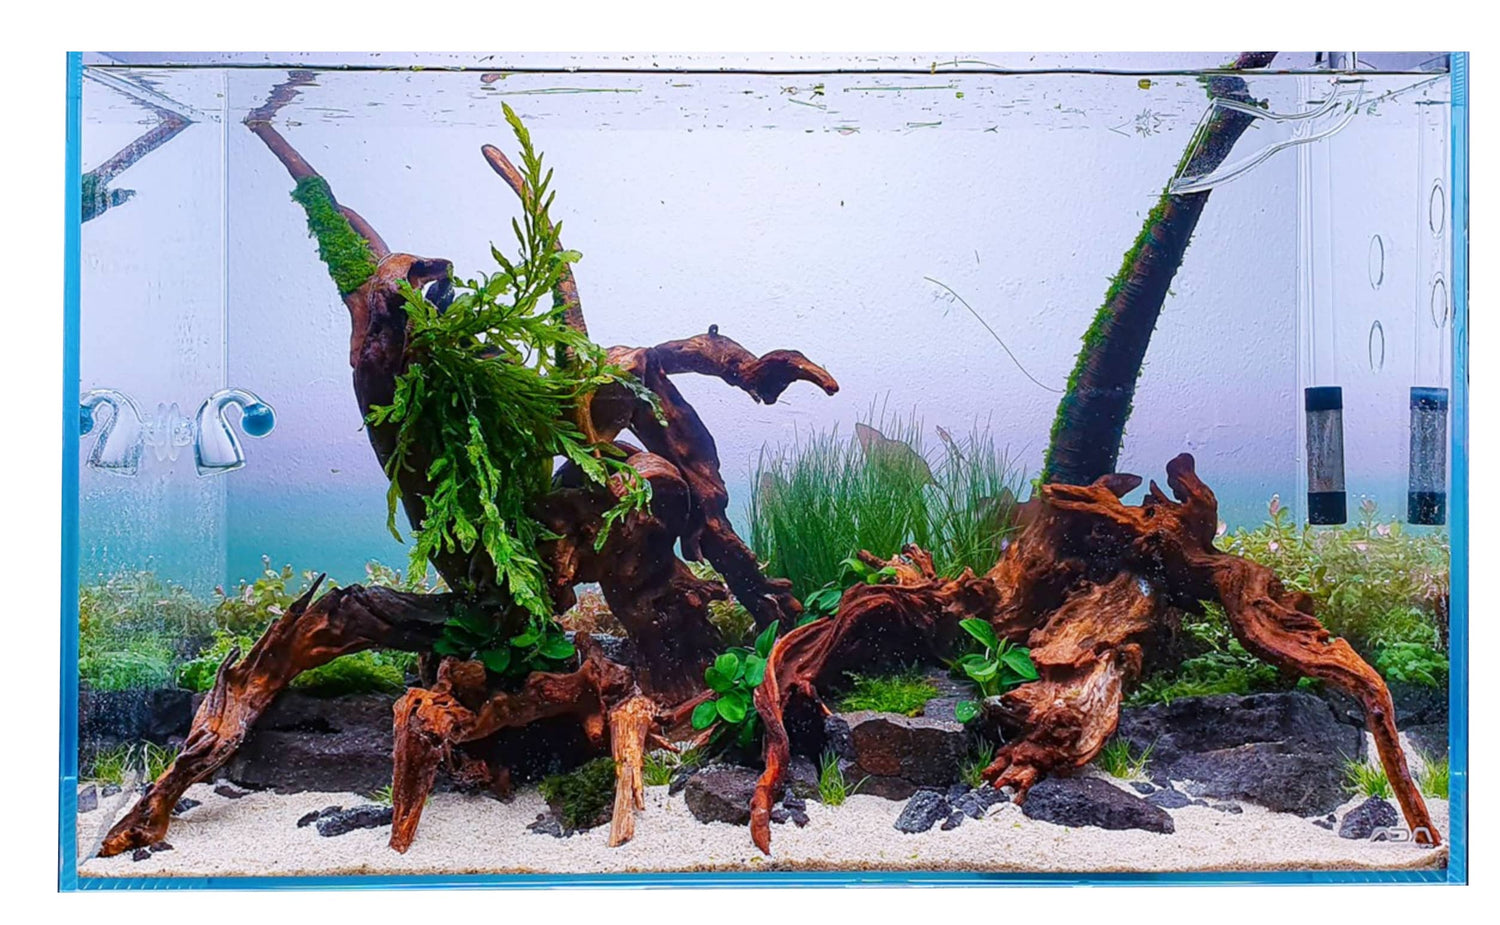
How to aquascape like a Pro
And this is how they do it


FAQs
How are aquarium plants delivered?
All aquarium plants are carefully packed and dispatched Monday to Friday. Orders placed before 4pm ship the same day. We offer standard delivery from £4.99 and DPD Express next-working-day delivery at £6.99, with a 1-hour delivery window sent to your phone.
Are your aquarium plants snail and pest free?
Our tissue culture aquarium plants are grown in sterile laboratory conditions and are guaranteed pest, snail, and algae free. Potted and epiphyte plants are sourced from Tropica, Europe's leading aquatic plant grower, and are inspected on arrival.
Which aquarium plants are easiest for beginners?
The easiest aquarium plants for beginners include Anubias, Java Fern, Java Moss, and Vallisneria - all of which grow in low light without CO2. Our Tropica Easy Growing Bundle is specifically curated for new hobbyists and includes care sheets.
Do you sell tissue culture aquarium plants?
Yes - we stock a full range of tissue culture (1-2-Grow!) aquarium plants from Tropica. These are pest-free and algae-free. New Tropica 1-2-Grow plants come in liquid agar and need no rinsing. Sometimes slower-growing species like mosses have firmer agar that should be rinsed off before planting. When in doubt, a quick rinse under tap water won't hurt.
Can I buy aquarium plants online safely?
Yes. Our live aquarium plants are picked fresh from our UK facility each week, not stored in warehouse tanks. We ship in insulated packaging to ensure they arrive healthy and in full growth.
What fertilisers do aquarium plants need?
Most aquarium plants benefit from a liquid fertilizer providing nitrogen, phosphorus, potassium, and trace elements. Our Neutro Combo is a top seller for low-tech planted tanks. High-tech tanks with CO2 may need additional macro nutrients.
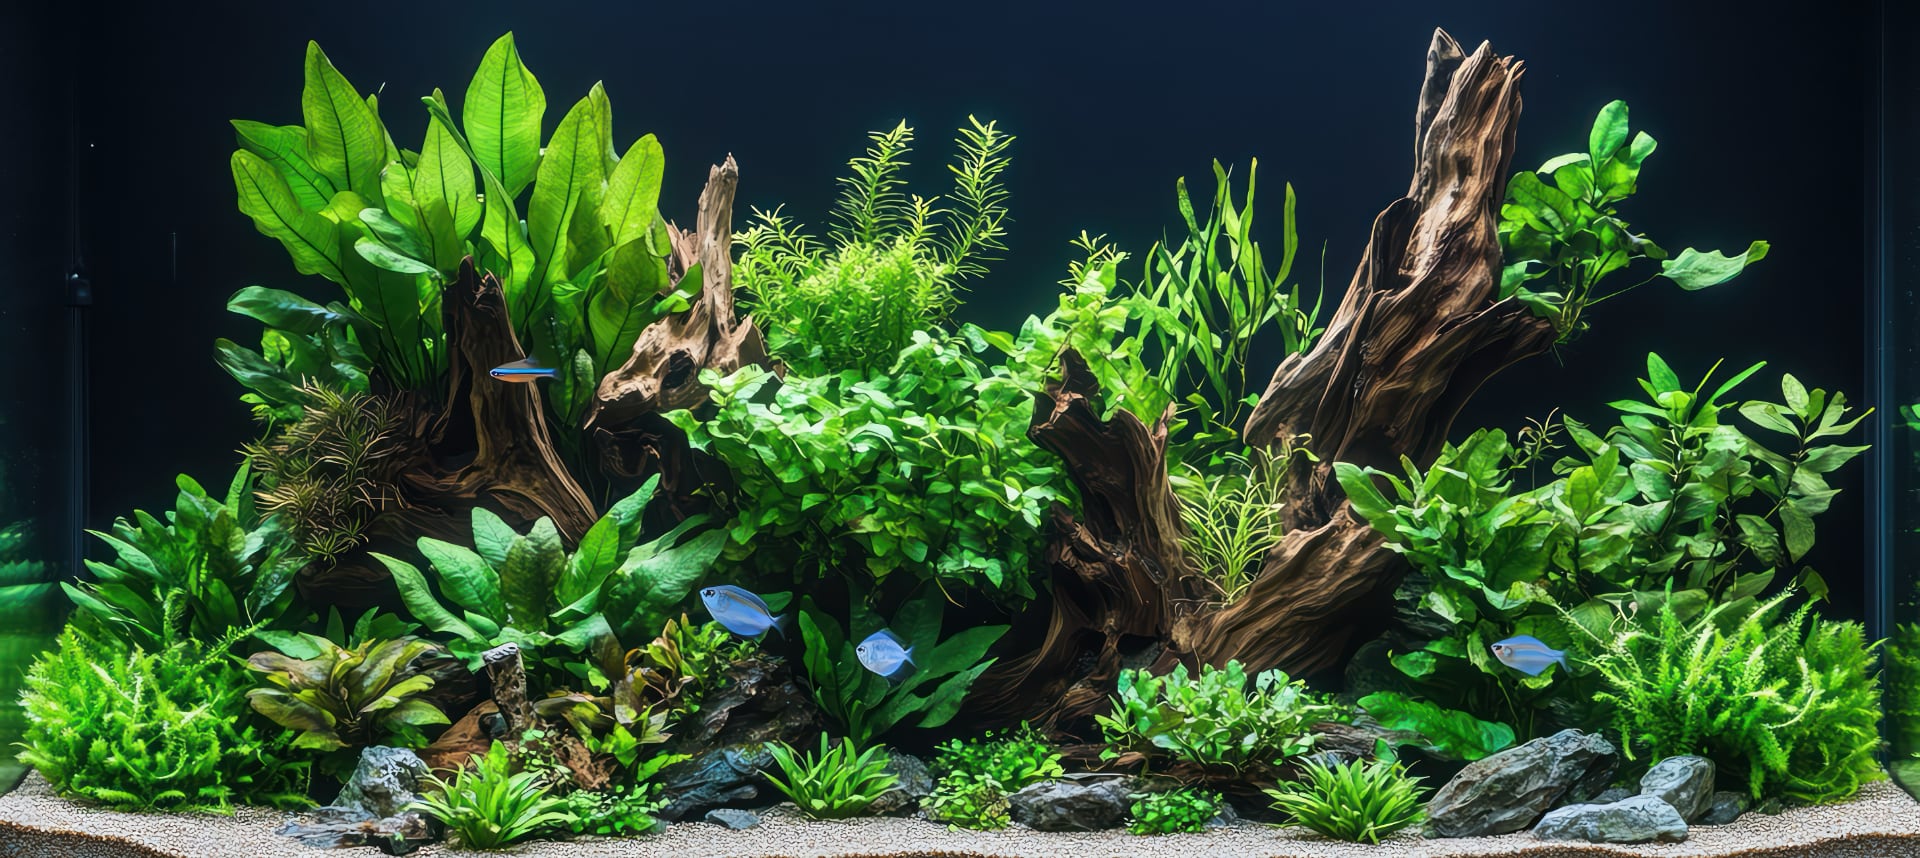
Shop Live Aquarium Plants — The UK's Home of the Planted Aquarium
Aqua Essentials has been supplying live aquarium plants to fishkeepers and aquascapers across the UK for over 20 years. Our full range of freshwater aquarium plants includes potted plants, tissue culture, floating plants, epiphytes, and beginner bundles — everything you need for a healthy, thriving planted tank.
Whether you are buying aquarium plants online for the first time or expanding an established aquascape, our plants are picked fresh, packed carefully, and delivered straight to your door. Every species in our range is labelled by difficulty, so finding the right live aquarium plants for your fish tank is straightforward — no guesswork needed.
Browse our aquarium plants collection, explore our potted aquarium plants, or shop our floating plants and plant bundles.
